At the end of last year Pyranha released the Burn MK3, if you have had a chance to paddle one its not a bad kayak, one of the best creekers and river runners on the market today, even Tom Parker has put the Everest away, always a good sign. Price £949.
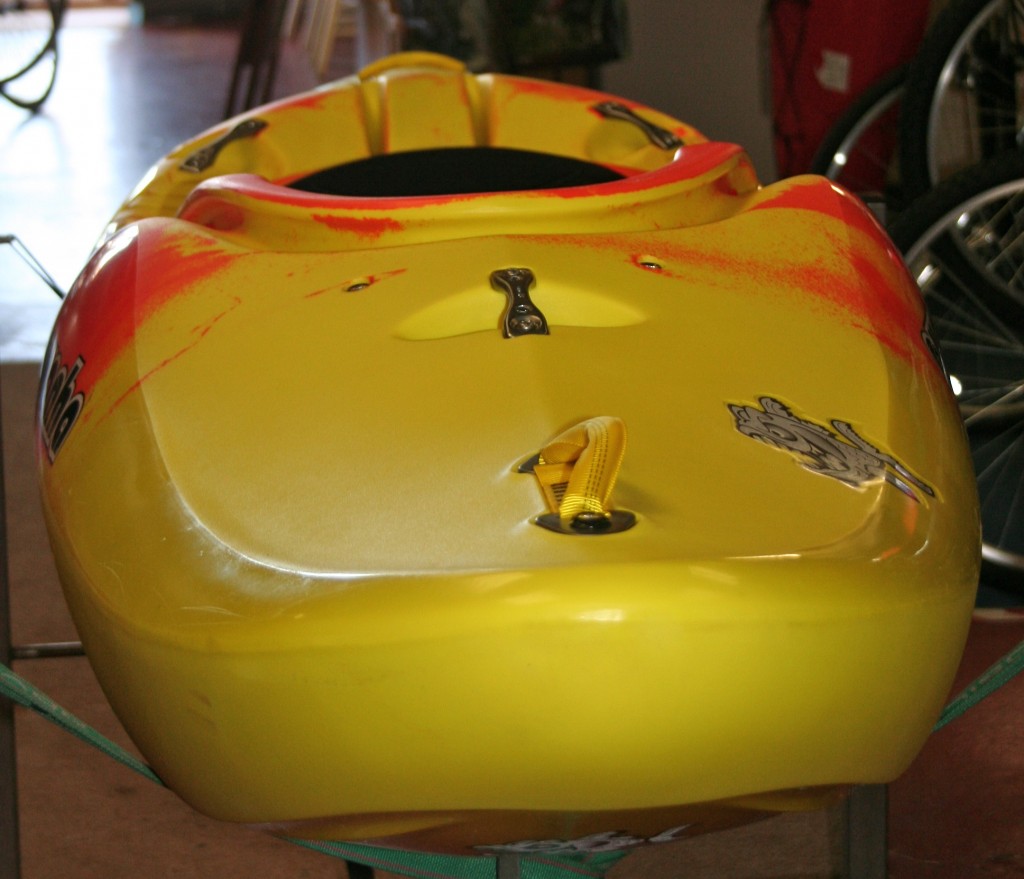
So what to do with the mould of the MK2 Burn, nothing to wrong with the design, has been tried and tested on the worlds hardest white water. This year in the Pyranha range there is a kayak at £599, the Pyranha B-Two hitting the price point for club paddles just breaking into white water or people wanting a coaching kayak. Well its the old MK2 Burn, its been de-speced to hit the price point of other manufacturers, still comes with the yellow grab handles, aluminium rescue points, connect 30 seat, thigh grips, back band, centre foam and full plate footrest, at the price its a bargain.
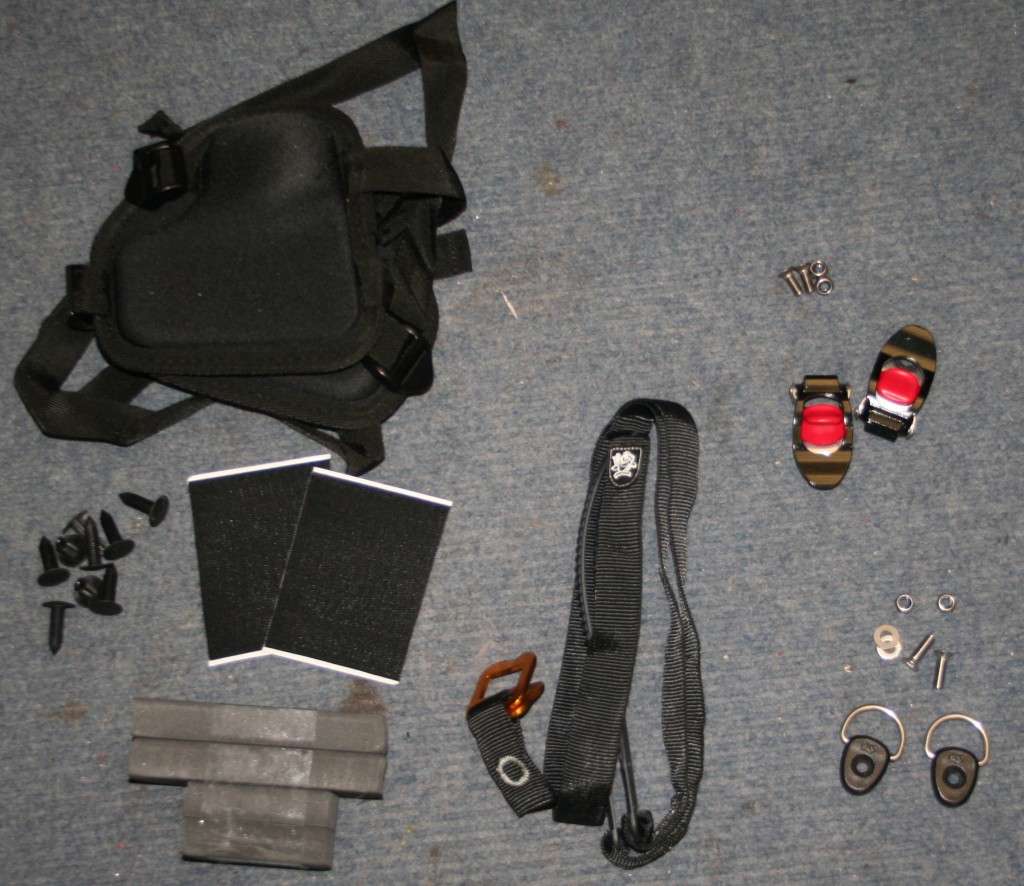
Now, for an extra £90 you can buy the extra parts to turn this sleeping monster into a full on creeking river running monster. What does £90 get you, well a pair of hip pads including fitting kit, webbing attached to ratchet runners, a pair of ratchets and a pair of guides for the webbing.
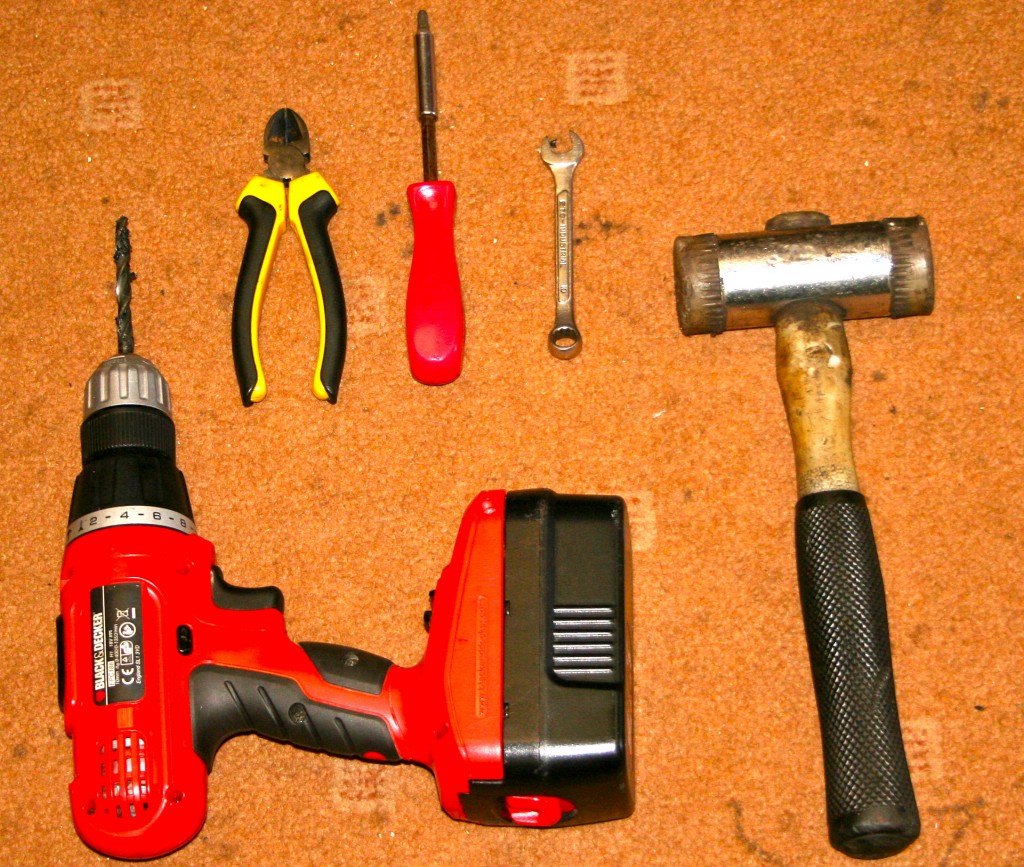
So, you have brought a B-Two and want to upgrade and add the extra parts, you could be worried thats its a hard job, well you would be wrong, it takes 20 to 30 minutes and only a few every day tools.
Drill
7mm drill bit
10mm spanner
cross hatch screw driver
wire cutters or knife
Hammer (optional but I like using it)
Right, lets get started. First job is to fit the two ratchets, easy job, loosen off the thigh grip screw located under the cockpit rim, has a red washer behind it, leave the screw in the kayak, acts as a guide later. Secondly completely remove the top screw. This should allow the thigh grip to be removed.
Top tip! work across the cockpit, gives you more room to do the job.
Place the nut for the ratchet in a hole shaped to take the nut at the far end of the thigh grip, once in, locate the ratchet and bolt to the thigh grip.
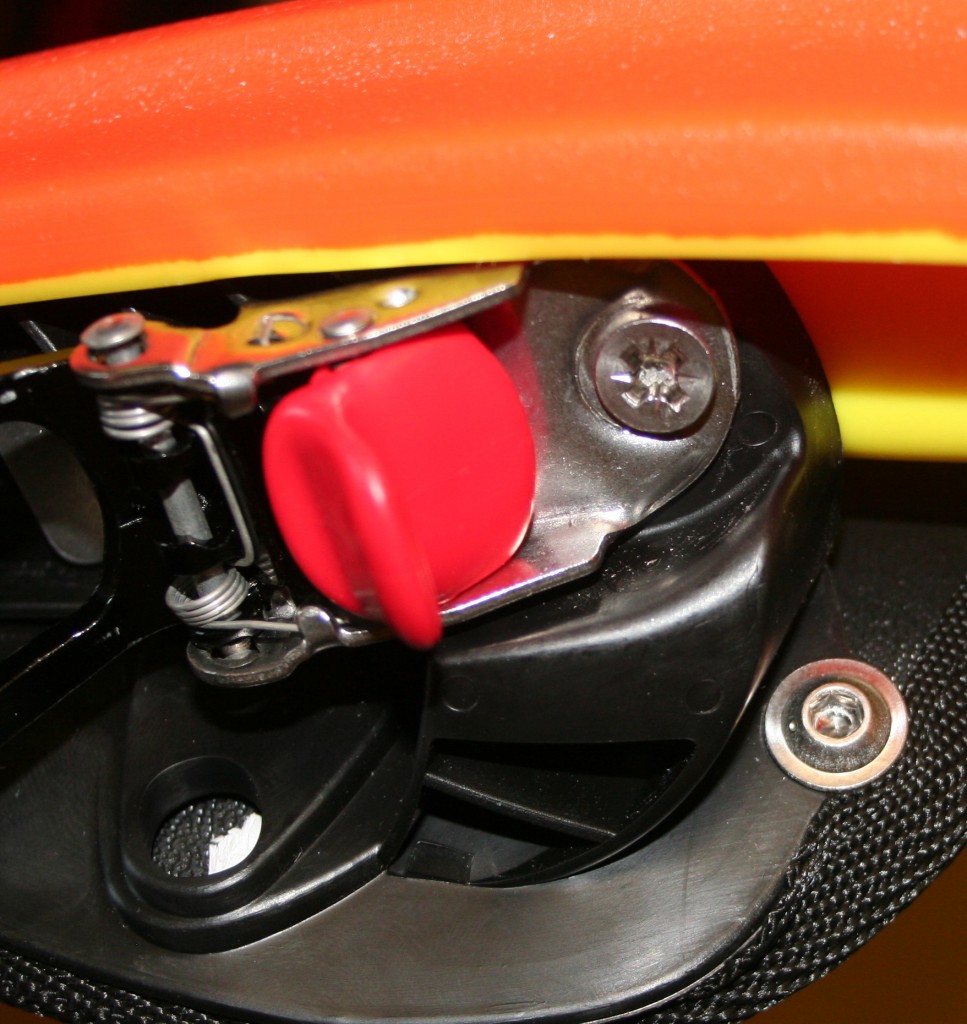
Should look like the above, Complete both sides. You have just removed them so I shouldn’t need to tell you how to install them 😉

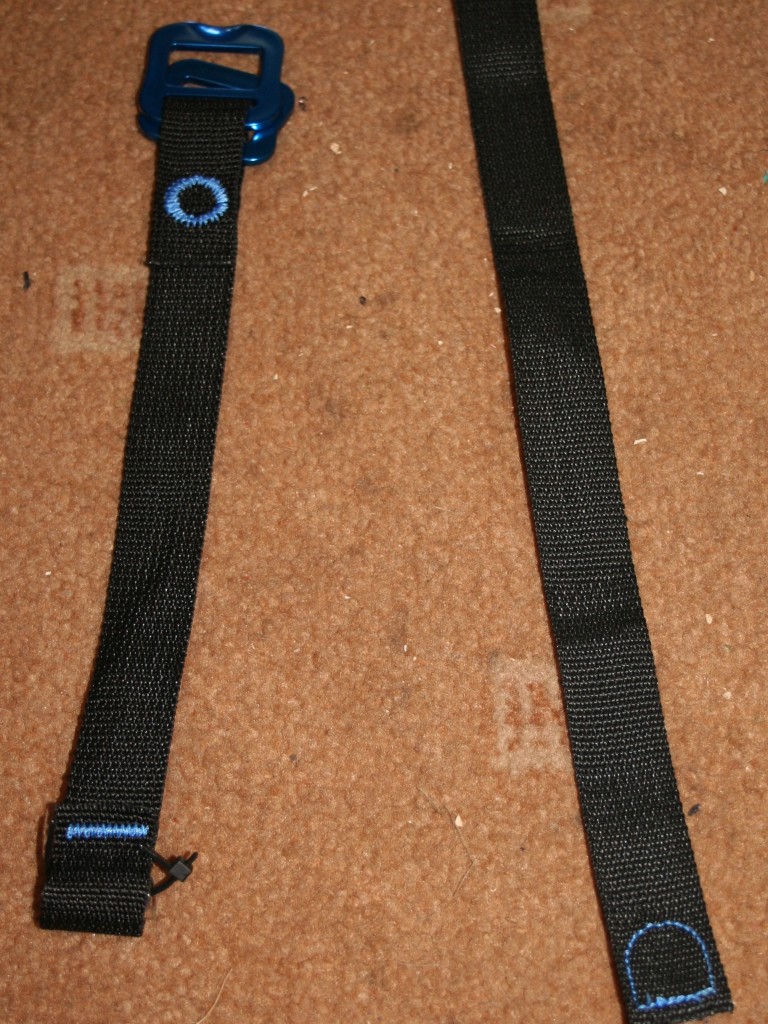
Next on the list to do is remove the webbing that adjusts the current back band, start by un-doing webbing from the blue buckle, once in two lengths, you can feed out the paddlers left side through the seat post slot. To remove the buckle side, reach behind the seat post and pull out the end of the webbing, there is a zip tie through a tube, cut the zip tie and remove the tub. This will allow you to pull through the webbing pulling at the buckle end, you should be left with two webbing pieces as below.
Now you are free to add the plastic runners and webbing back through the back band, you need to work from the centre of the back band outwards, thread the plastic runners through the slots in the back band as shown below.
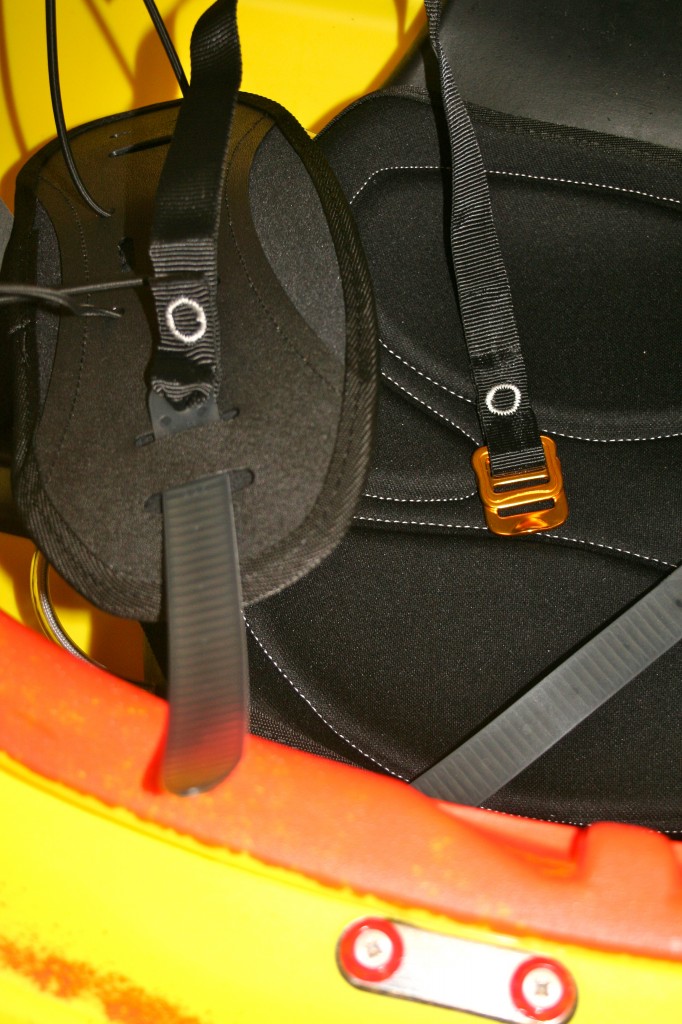
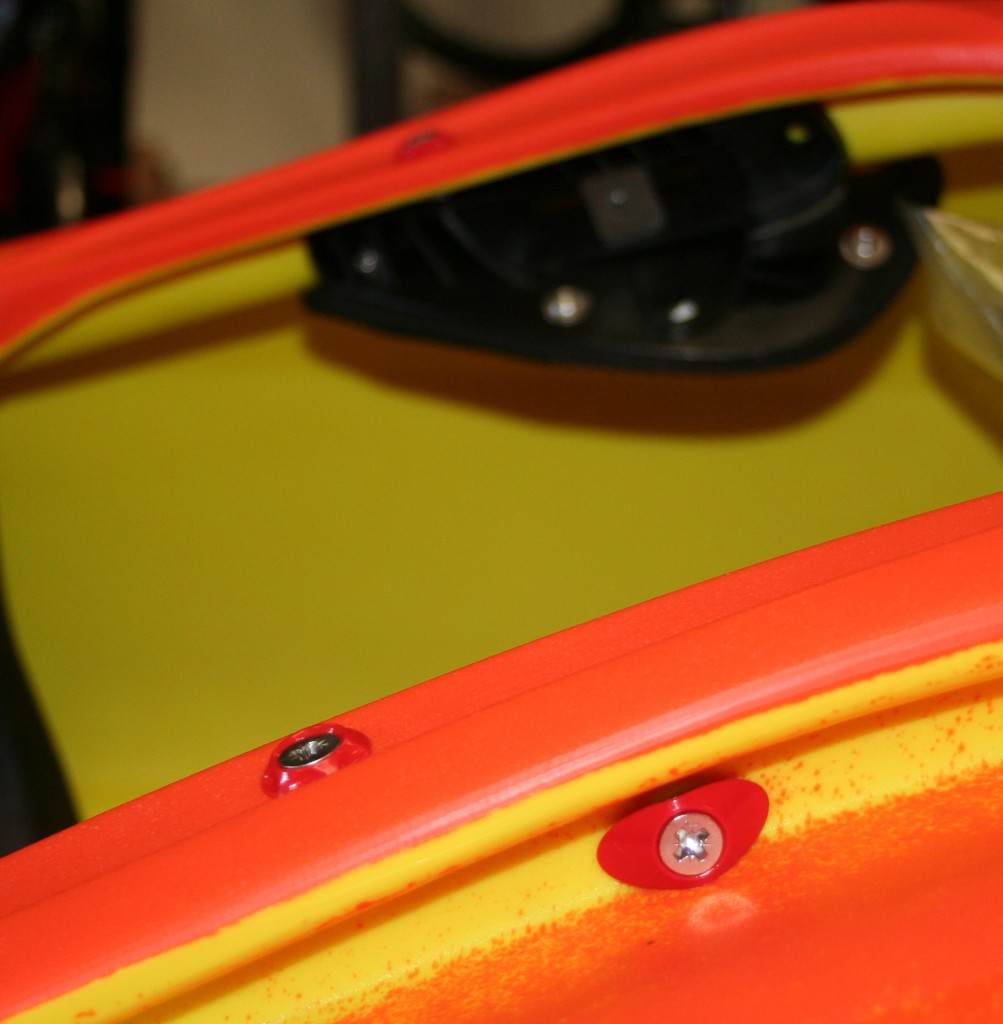
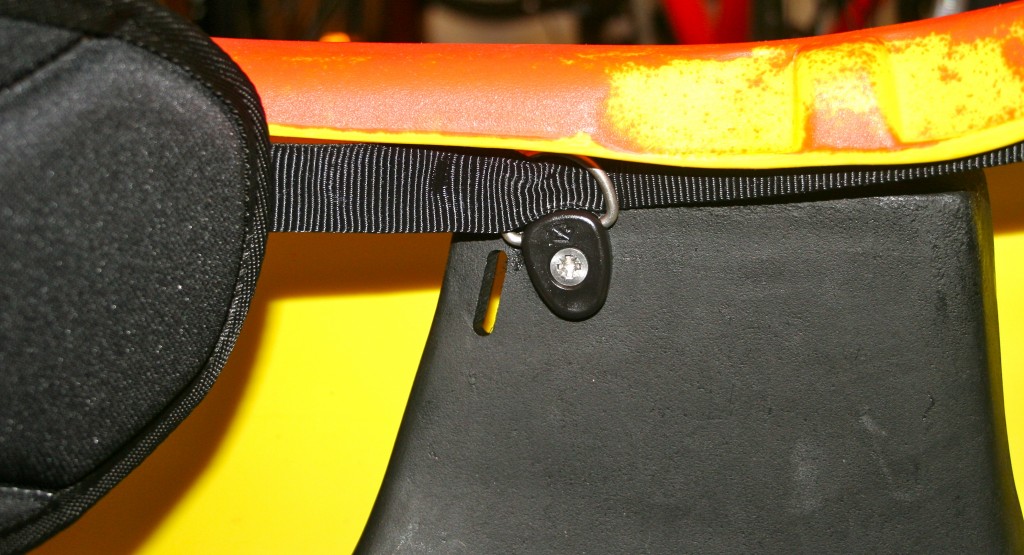
Do both sides and fasten the buckle in the centre, you should have a gold buckle where a blue one used to be. Once this is done its time to fit the webbing guides, this will involve holes being drilled into your seat post, be very careful not to drill through the side of your kayak!!
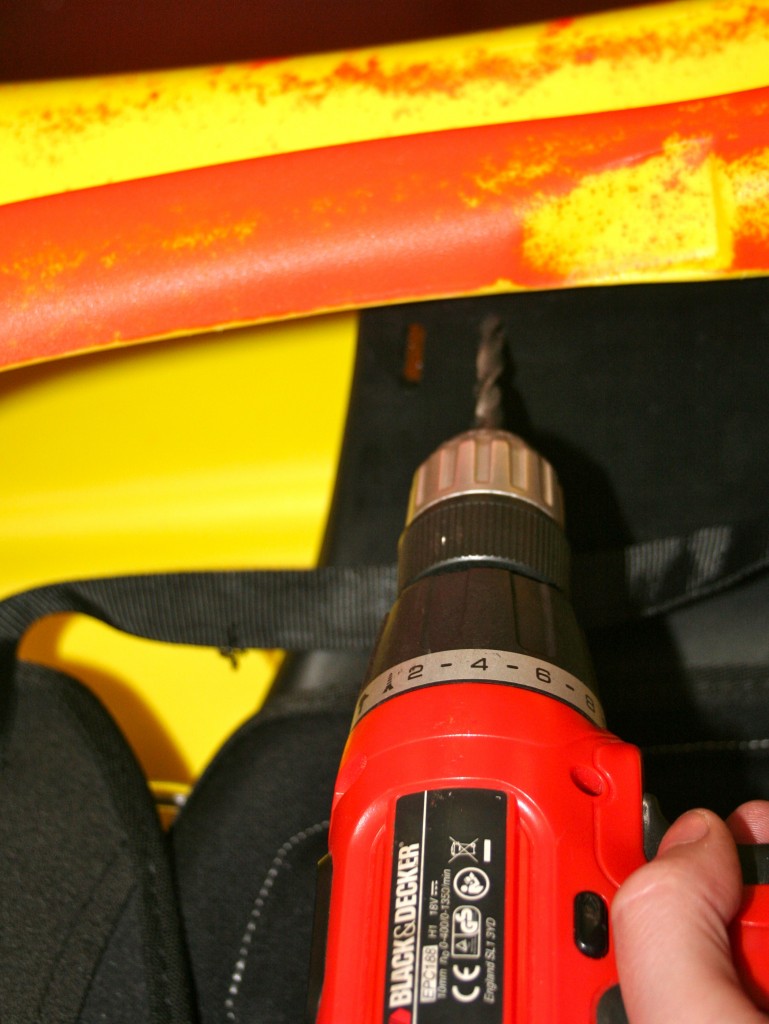
I have drilled the guide towards the rear of the seat post, the metal ring on the guide wants to point upwards, the top of the black plastic guide must not be higher then the top of the seat post, if you do you will make it to tight to place the washer and nut on. Once on your ready to thread the plastic runner and webbing through the guide and into the ratchet, that should give you a working back band. Remember to work from the opposite side to the side your working on.
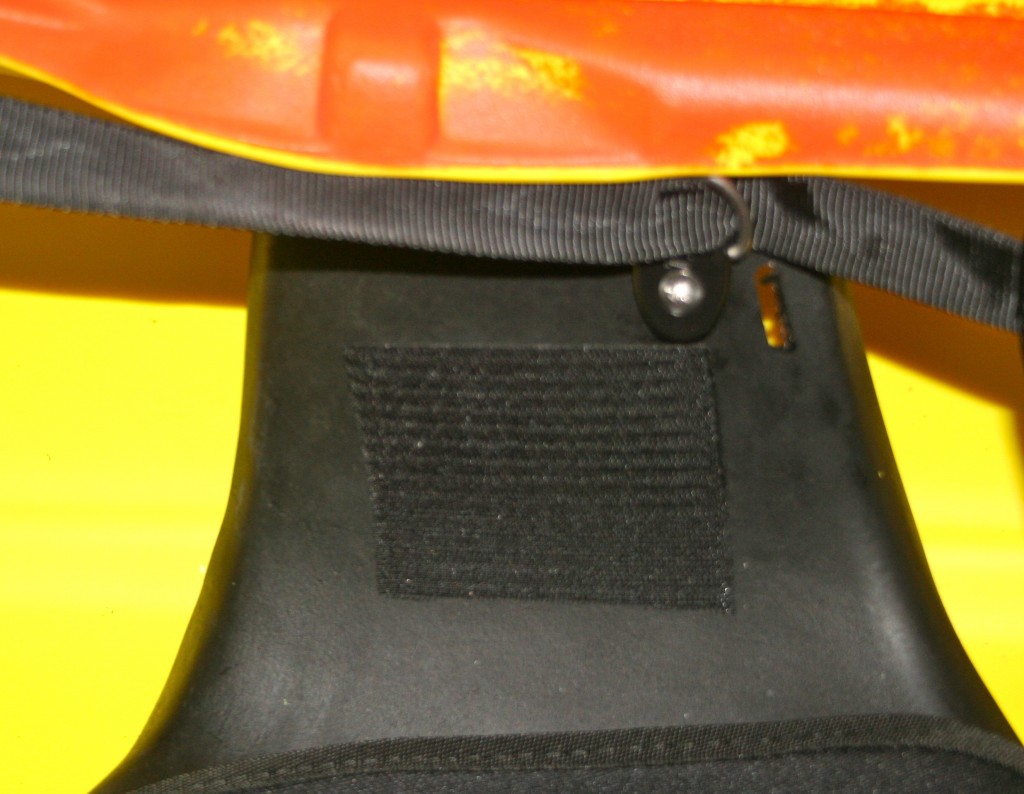
Next up is the fitting of the hip pads, first is to fit the velcro, make sure the seat post is clean and dry before placing.
Drill four holes roughly 1cm in from the four corners, this is to take the four christmas tree style pegs.
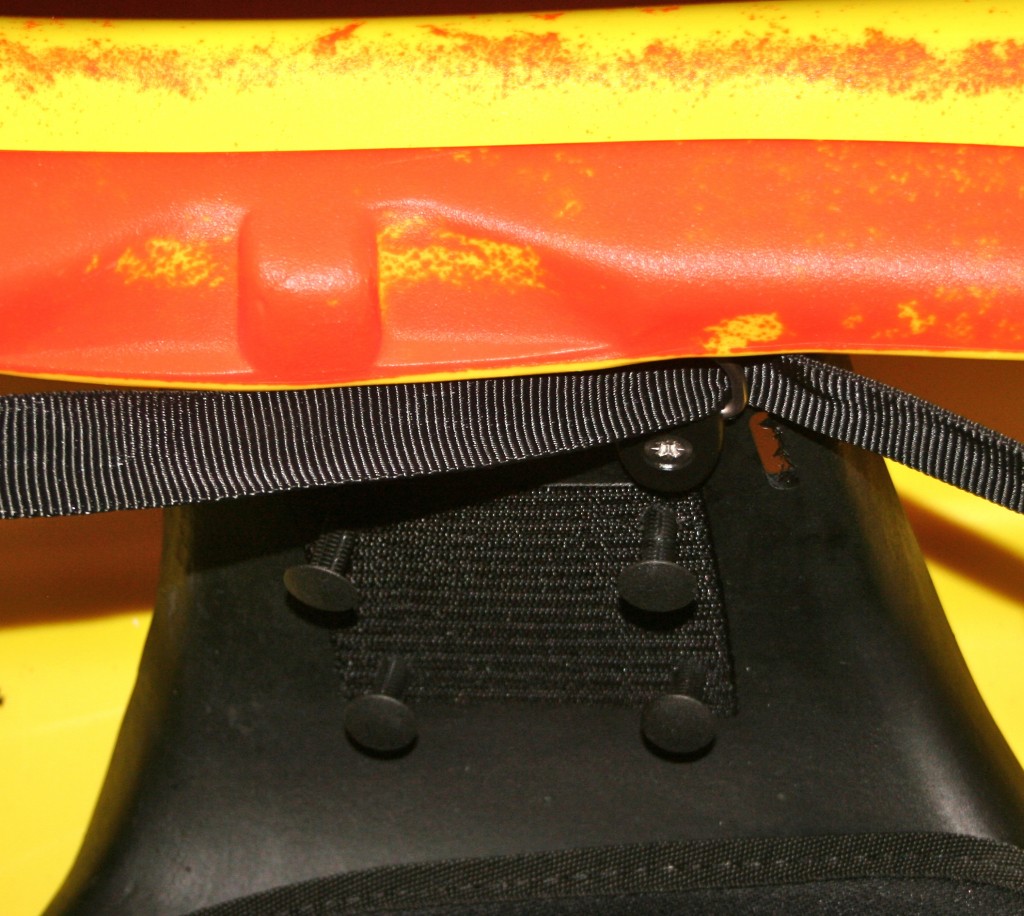
Now it does say push in with your fingers, I don’t have Jeff Capes’ fingers so I used a hammer, any excuse.
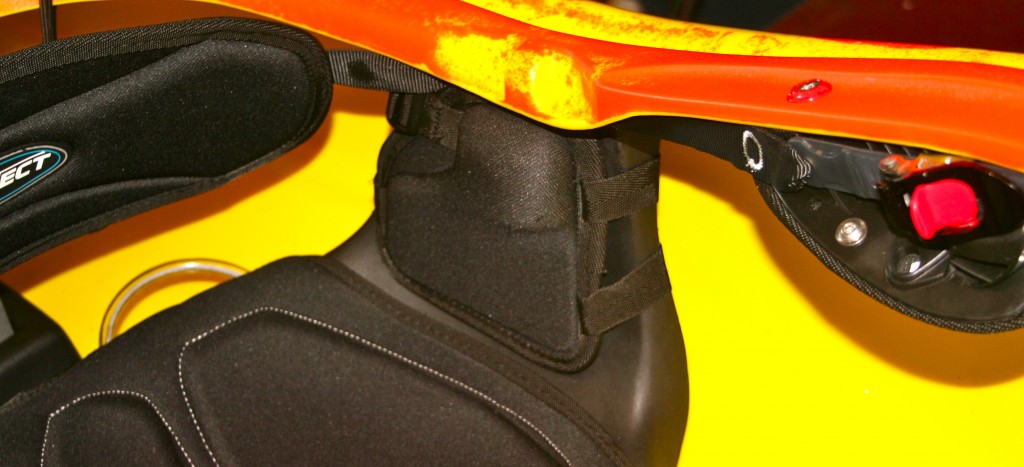
All thats left to do is to fit the Hip pads into the kayak, you will find they have a top and bottom strap system which goes around the seat post, once in place its time for a cup of tea.
Now you have a kayak that is capable of running anything you throw at it for £689.
To buy one click here
Article by: Rich Brooks of Sue’s Canoes.
Leave a Reply