If you haven’t read MYOG – Split Paddles Part I then you can find it here.
Part II
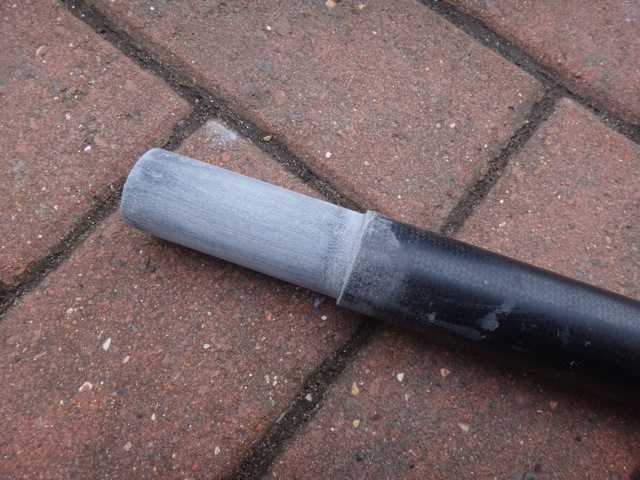
The 27mm spigot arrived and I offered it to the paddle shaft and found it was a touch too big – less than 1mm at the most. Therefore half of the spigot that was to be fixed into the paddle shaft was sanded down with some aluminium oxide paper until I had a good tight fit. It’s important to try and sand evenly at all points around and along the spigot to prevent slop in the system later on.
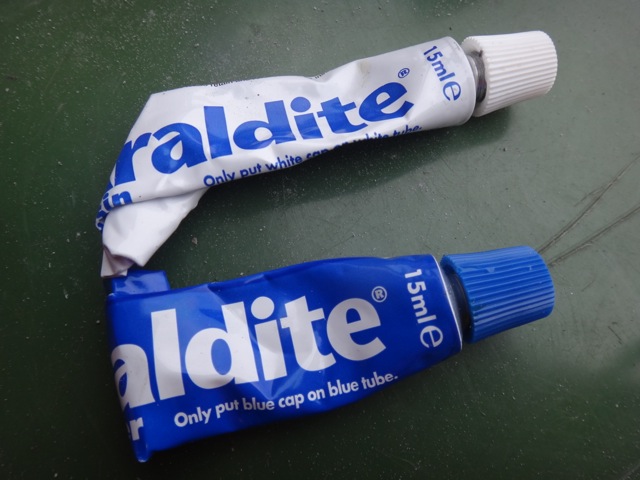
I used Araldite epoxy precision to fix the spigot in place as it has a much longer work time. The two parts were mixed and I used a stick to ensure that there was a good coating on the inside of the paddle shaft. With the glue added the spigot was hammered into place.
As the fit was so tight I didn’t need to worry about disturbing the spigot so got on with sanding the other half. This was a little bit of trial and error as I wanted a fit that was tight enough to prevent any movement but not so tight that the paddle would never break apart. Obviously if you are repairing a paddle or are changing the feather then you will need a nice snug fit. It took around 15 minutes to get everything just right.
I then offered the two parts of the paddle togther to check final fit.
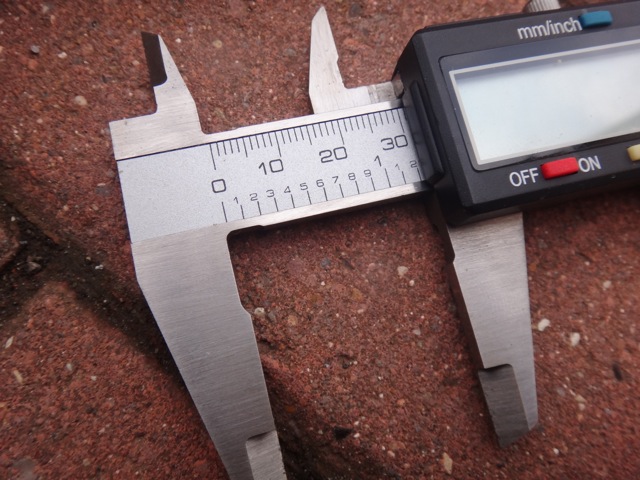
I paddle left handed so intend to set this paddle up as a left handed split set at 35 degrees. I have a little maths on the go at the minute and will publish that along with the final steps in part III to show you all how to set up the feather. Finally I measured the external diameter of the paddle shaft in a number of places ready for my calculations.
The paddle was then left to allow the glue to totally go off.


Hey. a friend of mine got a set of splits from Select Paddles. Problem was that they made the spiggot and shaft such a good fit the glue they had used was pushed out and so the spigot after some tough use came away. They offered a replacement for that full half without hesitating, what is the good service they offer, but in the meantime I etched some flat spots on the spigot so that some glue would remain and re-glued it. Something you may have to do if your fit was too tight. A splined spiggot would be the solution but I think they would have to be heavier and arn’t currently produced.
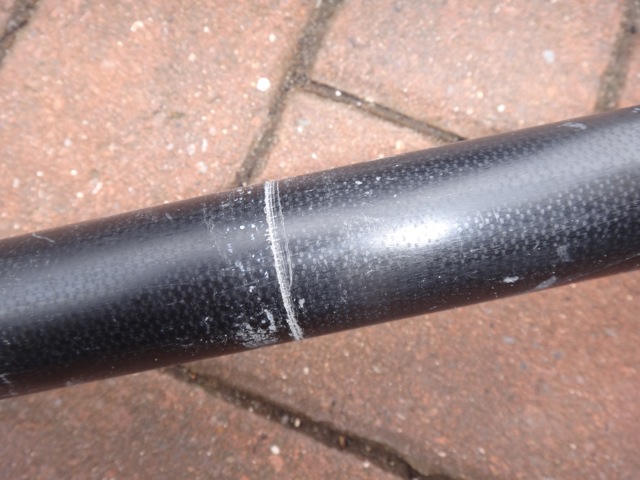
I have seen the same with another DIY set. When fitted my spigot is not sanded perfectly so has some purchase on the glue. Some glue was squirted out of the top so I know contact has been made and the glue has good coverage.
I have just made some splits out of an old Werner Sherpa. I wanted 2 piece splits cos they are stronger and will fit in my Everest… so I machined some nylon to make the spiggot and just bought the button fastener. One thing that is really good to do is seal the void in each half of the shaft. You can plug it with polystyrine and then use a little resin. This stops water entering the shaft whilst the paddle is in use. Lizzie X