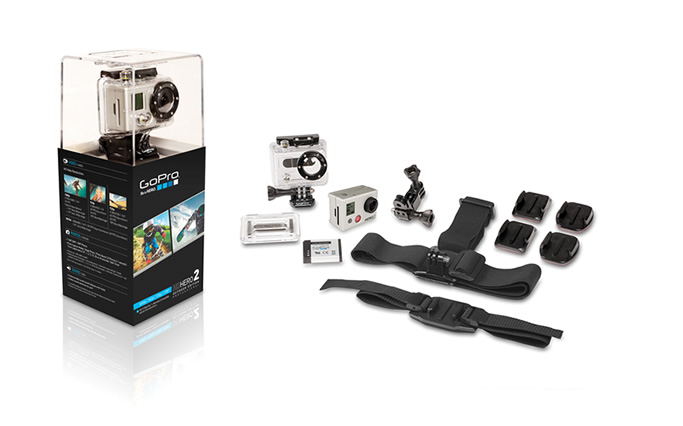
Amazon have the Outdoor GoPro HD Hero 2 on at £255 and the Hero (1080p) at £179. The HD Hero Outdoor pack is the one I have had for a while now. The strap to attach the camera to a vented helmet is also really good for attaching to the front of a PFD.
Month: April 2012 (Page 2 of 5)
A great piece of midweek kayak action with Sam Ellis.
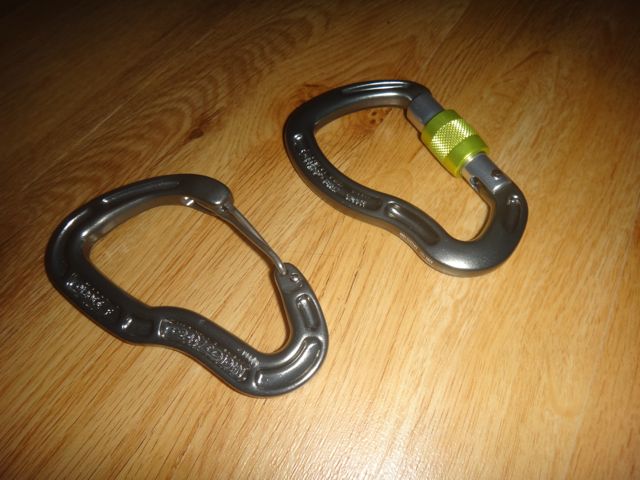
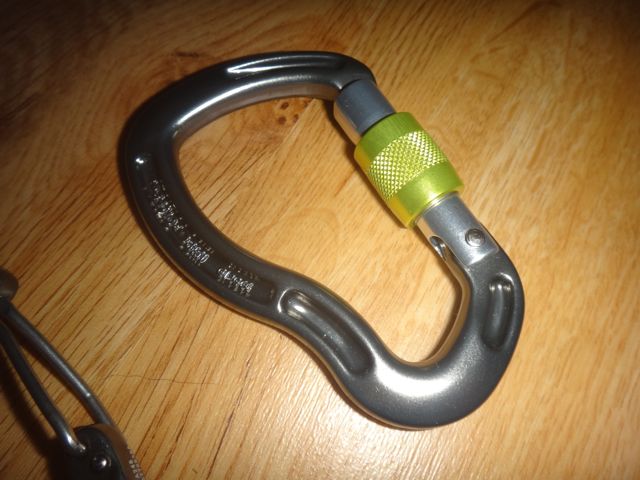
A couple of new karabiners have landed today. The plan is to add them to my Pin Kit.
After looking at some DMM kit in the local climbing shop I was very tempted to buy a couple of bits there and then. However I remembered that V12 Outdoors are a dealer for DMM who also stock DMM cosmetic seconds.
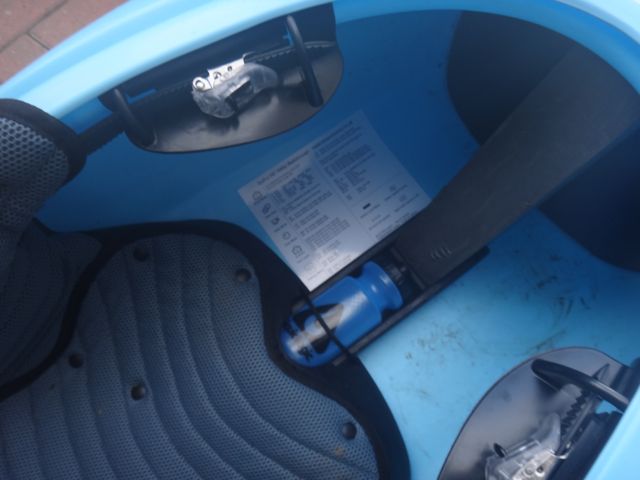
Not getting the correct settings on your GoPro for a particular shot or sequence is something that I find occurs quite a lot. Carrying the guide/manual around whilst paddling is also a bit of a nightmare. To try and solve this issue I have had a few stickers made up that show some of the key display codes from the GoPro. One of these is now stuck inside each of my boats.
Find out more on the Unsponsored Facebook page – http://www.facebook.com/unsponsoreduk
The Micro series of boats, first released in 1994, have been popular creek boats ever since. However, creeking has evolved along with creekboat design. Loads of manufacturers have released more modern designs like the c.f.s, Java and the Huck. Now Pyranha have decided to retire the trusty micro in favour of a new machine – the M3. Here’s what I reckon…
The Look:
Fresh ‘n’ new! The M3 really looks the business, with the new “Syncro 4” outfitting and clip in points made by DMM. The “Syncro 4” outfitting works really well. The boat needs minimal time spent messing around with glue and sandpaper getting it right as it comes with pre-padded seat and hip pads. The hooker thigh grips give the control of quad straps combined with the easy access needed for rivers and creeks and the backrest was great, providing positive support from the moment I got into the cockpit. The M3 features a full plate footrest, rather than the “shoc-bloc” system favoured in Pyranha’s playboats, giving adjustability, control and safety. Anyone taking big hits can layer the footrest up with thick foam. There’s no peli case holder as standard anymore, although these can be ordered from Pyranha. The boat comes supplied with a bag of foam fittings as standard, along with the ubiquitous Pyranha sponge. Continue reading
As soon as I jumped into the I3 the 1st thing that I noticed was how extremely comfortable it was (a pre-syncro 4 boat). There is a hell of a lot of foot room which meant I was able to wear my 5:10 boots whilst in the boat with out any loss of feeling or discomfort.
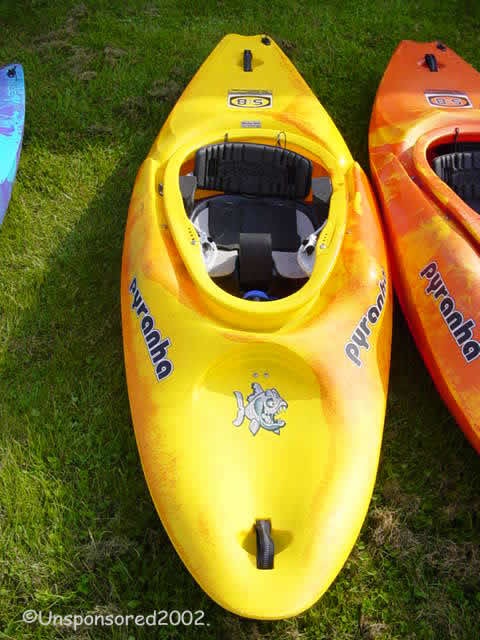
The thigh braces are pretty well designed and can be adjusted forward and back to get the right feel. This ultimately will mean better control of the boat. The bulkhead foot braces come with varying thicknesses of foam cut for the shape of the bulkhead, these are easily stuck into place. The back band is the now industry standard – ratchet system. It works well and appears solid enough.
Continue readingI managed to get hold of a Pyranha S6 200 a few weeks ago and manged to squeeze myself into it for a quick spin out on my local wave. I’m 6ft 1inch tall and managed to get in the boat with no hassle at all. The S6 comes in two flavours the 190 and 200 versions.
Outfitting:
The outfitting will be familiar to anyone who has used any of the other boats in the recent Pyranha range. The quick and easy adjustment of the seat and thigh braces allow you to trim the S6 quickly and the now obligatory ratchet backrest make getting comfortable a breeze.
To do a wave wheel you will need a boat that has slicy ends and ideally very little volume. When doing a wave wheel you don’t need any particular wave, but it is easiest if it is a green wave with no pile on top as the pile can slow you down. Wave wheels can be done in longer boats but, a longer boat needs a larger wave. Wave wheels in larger boats also look more impressive!
Whilst paddling down stream select the wave you are going to wheel. Paddle up to the wave with as much speed as possible. The faster you’re going, the more the wave will throw you and more impressive the wheel will be.
As you’re coming up the face of the wave, take one last stroke near the top of the wave. As you’re taking this last stroke, lean your boat up on the sidewall that you are most comfortable double pumping with. This is your first pump in a double pump. The more perpendicular your boat is to the wave the better. This last stroke should bring you to the top of the wave. Your speed should allow the bow of your boat to be slightly out of the water. Quickly turn that forward stroke into the second pump in a double pump. Then use the backside of your paddle to slam the bow of your boat into the backside of the wave. The wave is used to help you with your first pump to raise the bow high in the air so that it is easier to slam the bow with the second pump. Extend that last stroke down into the water until you have stood your boat up vertically in the first point.
Wave wheels can be thrown in the surf as well, same procedure just usually bigger waves.


Recent Comments