After a repair almost two years ago my Kickr has started to make a click every few rotations. This seems to start once the trainer is warmed up.
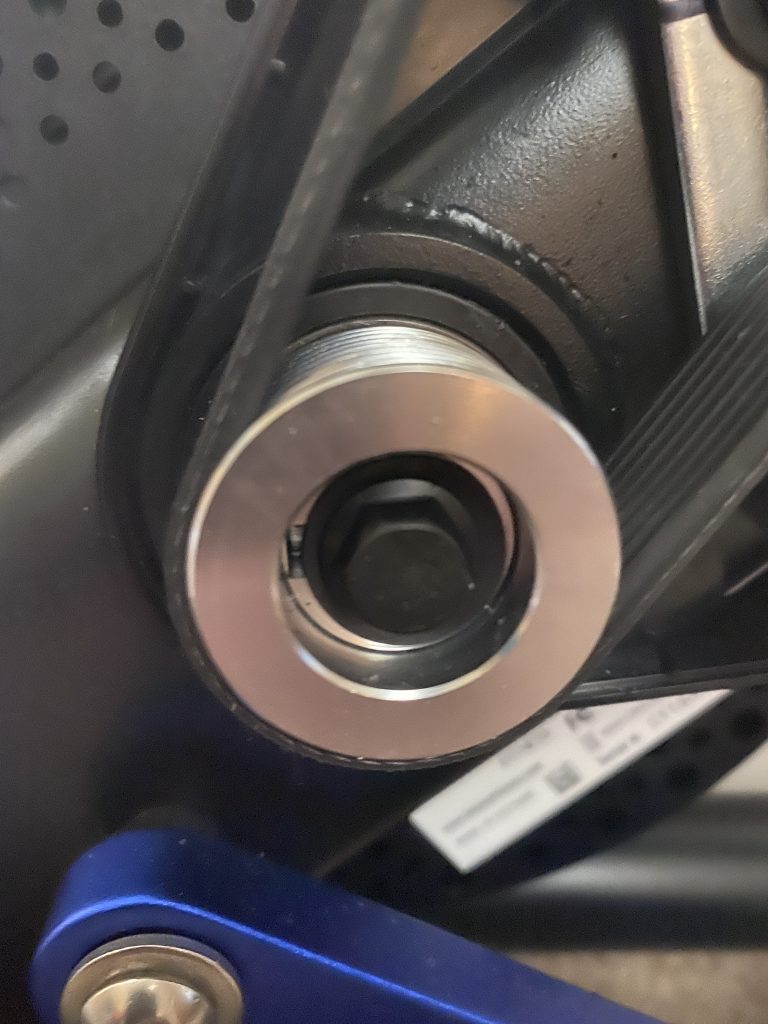
When I took the trainer apart to check out the potential issue I found that the pulley wheel was not going to be removed as easily before. This has been mentioned a few times in the comment section of my repair guide – Wahoo Kickr Repair Guide.
Disappointingly this component has been created from the softest alloy in the world and isn’t available as a spare. Therefore using any metal based tool to pry the part away would result in serious damage.
Thankfully some years ago I purchased a set of car trim removal tools from Amazon. They were originally bought for a car job but they have been invaluable for bike work as well.
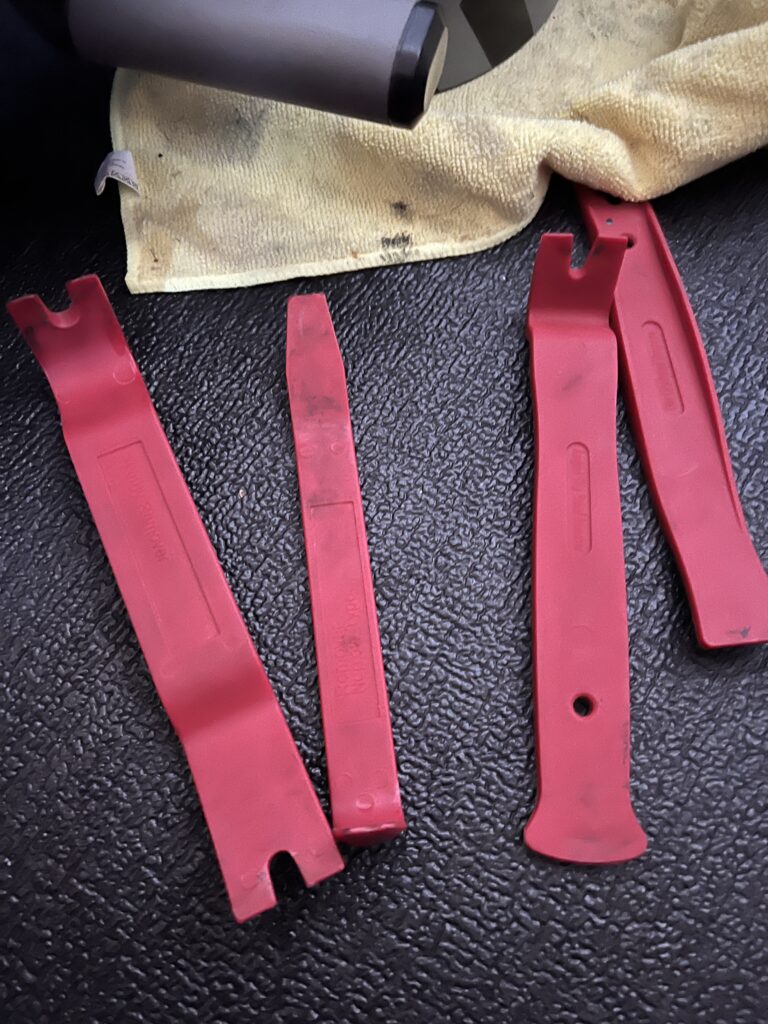
I started with a pretty thin pry bar and worked up to the thicker tools. I made sure that prior to removing the pulley that the unit was placed on its side and that the well in which the bolt sits was filled with penetrating fluid. This was kept topped up throughout the process.
After about ten minutes of gently prying the pulley wheel it shifted. No marks were made on the unit using the plastic car trim tools.
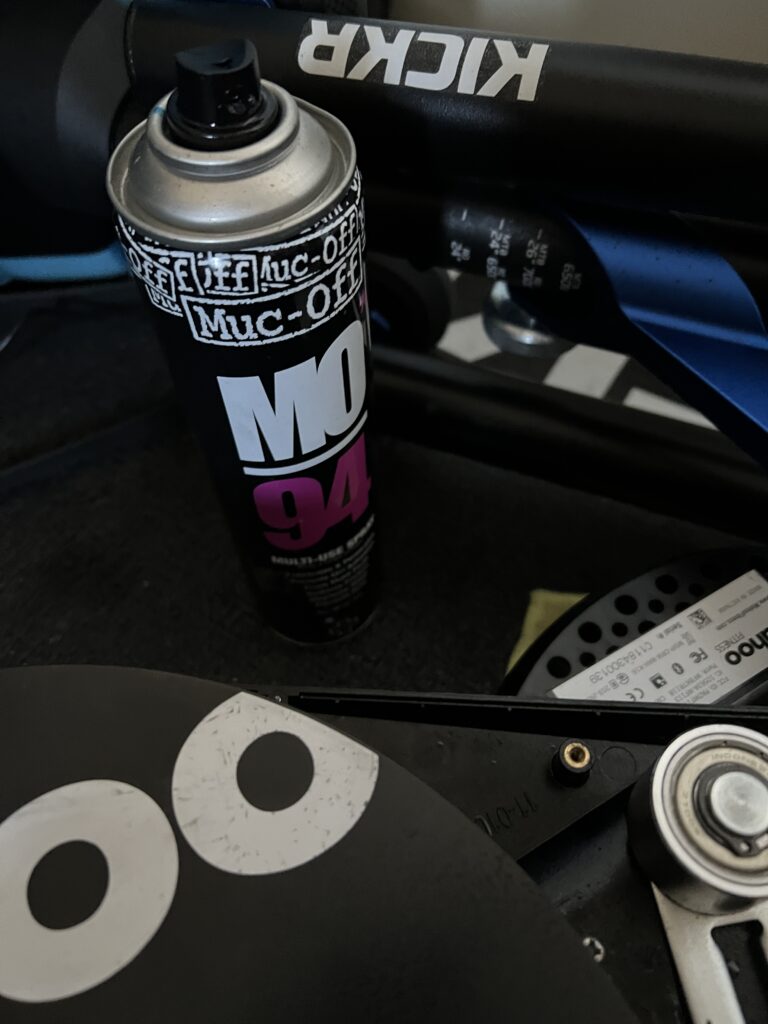
The bolt has been put back in place in the image above. I did this to make sure the penetrating fluid wasn’t just going down the threaded hole.
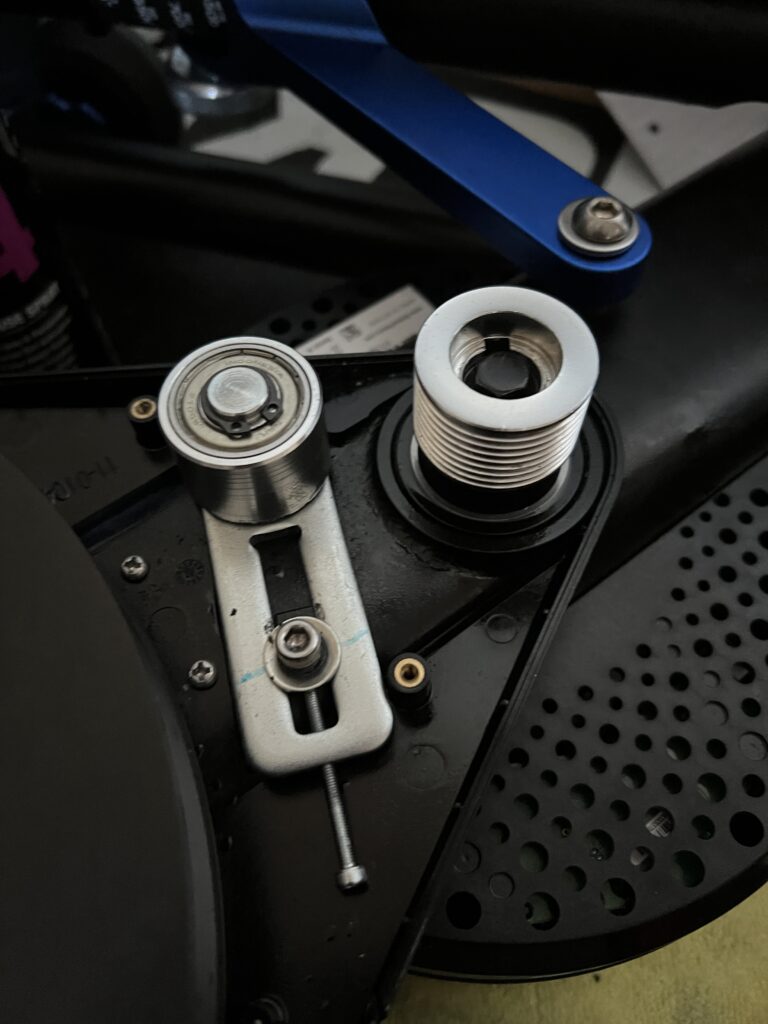
I could then move onto removing the parallel key. A punch and hammer was used just to move it enough to get it to move a little and provide a gap underneath. I then used a smaller flat head screwdriver as a wedge that was gently tapped in. This moved the key just the right amount so that I could grip it with a set of thin nosed pliers.
Once free I noticed that the key has some signs of corrosion. Not much but enough to do any harm or cause issues. However knocking the key out did create a few marks. I have therefore ordered some marine grade stainless steel versions for the replacement to remove any potential issues. These are around four times the cost of the key being replaced.
Finally the bearings were removed. The flywheel side simply lifted out with a little wiggle. The drive side needed to be tapped out with the punch.
The non-drive side look pretty good and rotated well. The drive side bearing had lost all of its grease.
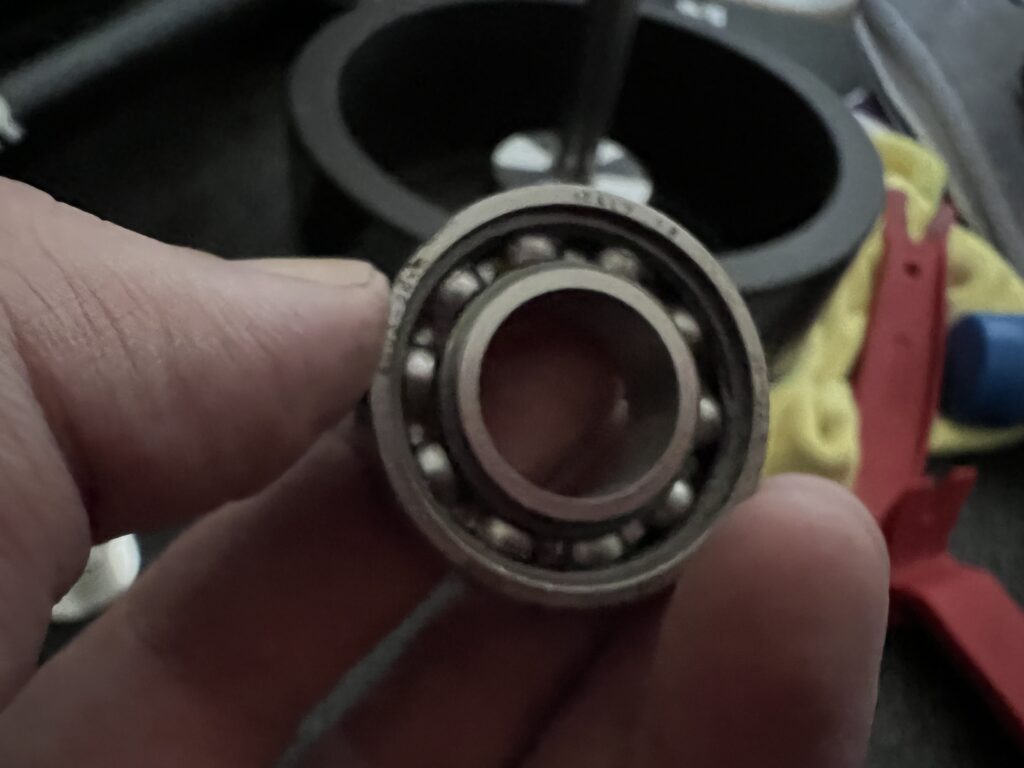
It still rotated and didn’t feel notchy but it was slow to rotate. It could be repacked and used again but when removing it I had damaged the inner seal. The image above shows the inner side of the bearing. You can see that it is totally dry and there is some evidence of corrosion around its outer race edge.
I’m not a big fan of reusing bearings that have been subject to hammer blows so have order two new bearings from Wynch Bearings. The set ordered are Enduro bearings. They are little bit more expensive than the SKF ones that I used last time. But if I get at least a couple of years out of them then it will be worth it.
Looking at the trainer overall it is holding up well despite all of the grease I had used during the last repair disappearing.
I suspect the heat generated during use is the thing that is creating the issues with the bearings and drying them out. Access to the bearings to regrease isn’t easy and once you have gone to the effort to take the unit apart you may as well replace rather than repack with grease.
Putting it back together I have used my own guide which can be found here.


Finally plucked up courage to do something about the intermittent Kickr noise which came back with a vengeance after going quiet for a while. Followed your great instructions plus YouTube vids and found the RH bearing black with what I assume is belt dust, so bought two new SKF 6003-2RSH bearings. But state of old bearing makes me think I should clean and re- pack with grease occasionally- so would welcome your suggestion as to whether to go for NLG1 or 2. Any idea what SKF bearings come packed with?- can’t see anything helpful on SKF website. Completely agree with comments on quality of aluminium pulley- I used 2 x very broad flat head screwdrivers and still did mild damage to pulley rim but given force and ‘wiggling’ I had to apply don’t think my car card removal set would have survived the job! Thanks again for really helpful site and posts. Is there anyone out there selling Kickr spares/replacement parts?
Glad the repair worked out. I have used a range of different types of grease but stick to NLG2. I believe that SKF use 2 as well.
There is a firm doing replacement axles with bearing fitted but require an hydraulic bearing press. They are also super expensive. I reckon if buying a new Kickr it is probably best to swap out the key straight away and grease the hell out of the bearings. Then keep on top of them. I’m on my third set of bearings now (inc of originals) and used Enduro bearings this time around.
Hello, thanks for your detailed support info on how to fix the Kickr. Do you still have any of the repair kits left for the pulley bolt, washer and tensioner bolts?
I have a kit than contains a marine grade stainless key, black stainless washer and a 10.9 spec black flanged bolt. All go on the grooved pulley unit.
HI there- – great advice. Something you wrote about the heat drying out the grease struck a chord with me which I can’t see anyone else mentioning online. I have a Kickr v5 (2020) which has done me proud with three (almost) trouble free years or riding in which I have done c7,500kms. However, I have started to notice that after c45 mins of riding the resistance appears to get progressively harder, the noise of the axle increases and generally the ride becomes harder, as if something needs lubing. Your post has me wondering whether that as the Kickr gets hot during the course of a session the grease dries out and the resistance increases. When I start the next session, the Kickr starts off fine again but develops the same issues after 30-45 mins or so as before. Do you have any thoughts on this? Also, would it be the freehub axle that needs lubing or the flywheel? I’m loth to start on the flywheel except as a last resort! Thanks.
I think most of it gets hot. The flywheel is being restricted by magnetic force during use which generates heat. Don’t touch it after use. I did and received a burn! I would imagine the axle gets hot as well but it makes sense that it would. I try and use high quality grease that has a good temp range. It is also possible that depending on the quality of the bearings and how much grease they have in them, they may also be heating up to the point of expansion. The areas that I grease up are – extra in the bearings and the axle that is fixed to the flywheel. Nothing else other than the chain. Although I’ve just moved to wax lube for the chain.