Skip to content
Unsponsored
Home
About
repair
More Kayak Repairs
2012.10.06
Immersion Research Double D Drysuit Repair
2012.06.16
Removing A Liquidlogic Seat
2012.06.03
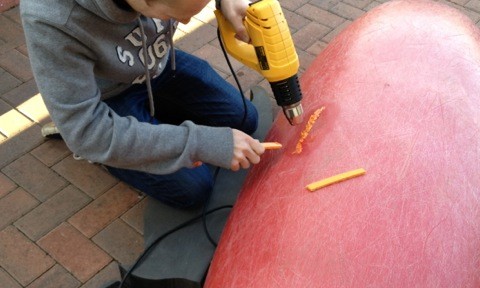
Pyranha Burn Repair
2012.05.28
Pyranha Backrest Repair
2012.05.13
←
Previousㅤ