Alcohol stoves are great little bits of kit. I own a couple of Whitebox stoves that I purchased online and love them. The following set of instructions were taken from a post that was made on one of my other sites. It’s a great DIY guide on making an alcohol stove using an air freshener can. The whole process involves using a pressurised container and tools that could serious hurt or kill you. Attempt at your now risk neither this site, myself or the original author accept no responsibility if you were to hurt yourself (or worse) making/using a stove based on the one shown below.
WARNING … ensure pressurised can is COMPLETELY EMPTY and COMPLETELY DEPRESSURISED before starting !!!!
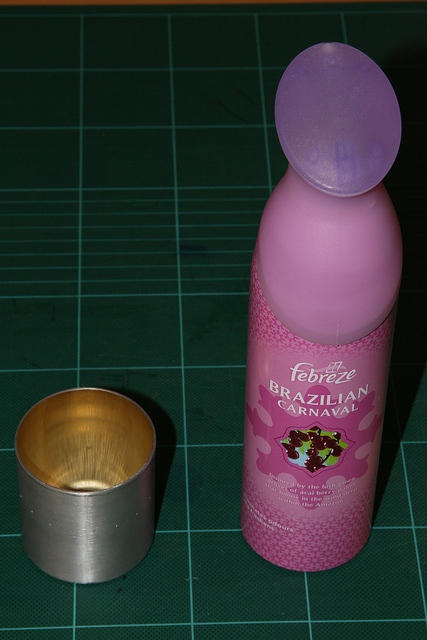
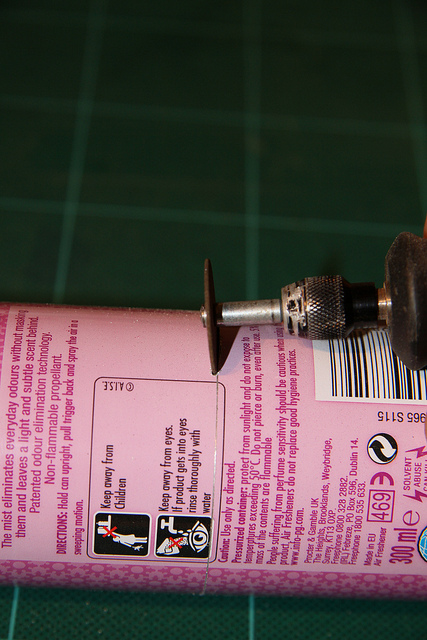
First remove the Trigger assembly. Just rip it off, no finesse required but advoid denting or damaging can.
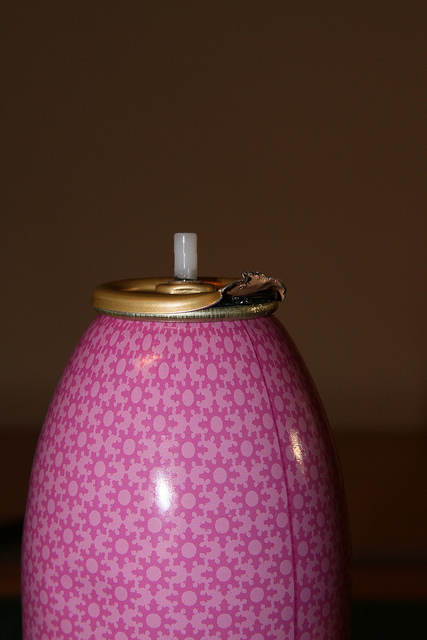
The brassy crimped cap has to be gently prised away from the rounded aluminium can top until loosened when it can be removed by grips or pliers.
Take care not to damage the aluminium parts.
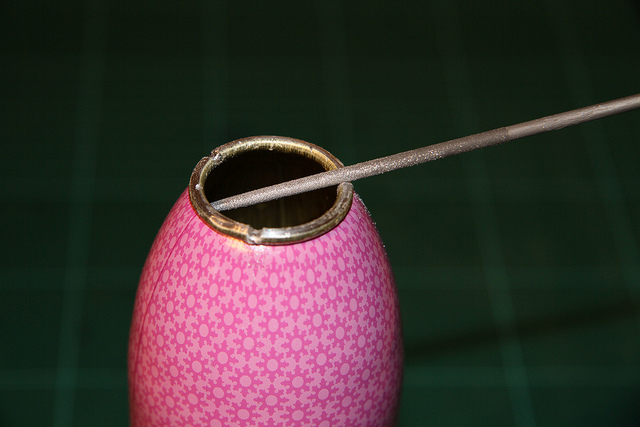
Using a fine rounded or rat tail file make 3 – 4 grooves into the rounded top of the can , this allows the alcohol to reach the pressurisation chamber , do not make them too big or deep.
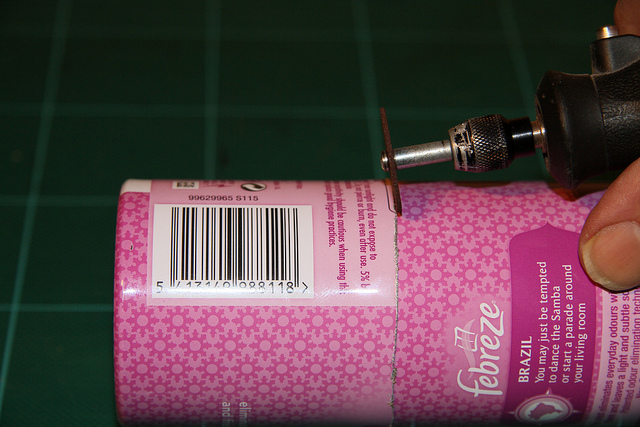
Using a Dremmel with a cutting wheel, though hacksaws, sonic saws, reciprocating saws, bench mounted chop saw or Argon laser can be used.
Care must be taken to mark and cut accurately and carefully, any irregularity can be cleaned up later but a good clean cut will save time.
Next … carefully deburr and gently chamfer the inside edge of the can, this will ease the insertion of the top section of can into the bottom section.
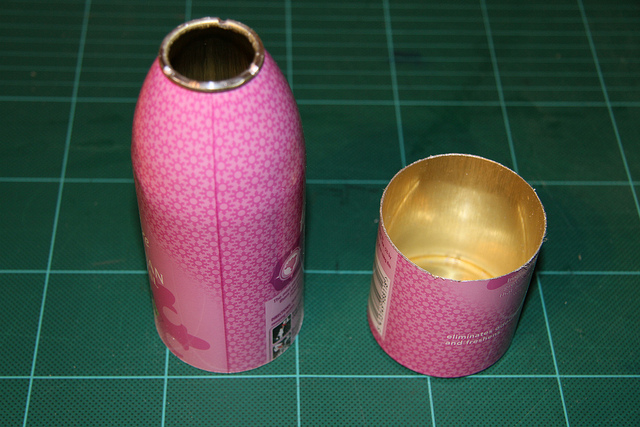
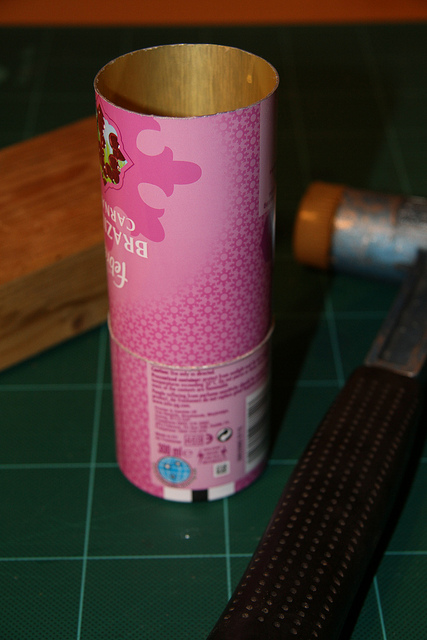
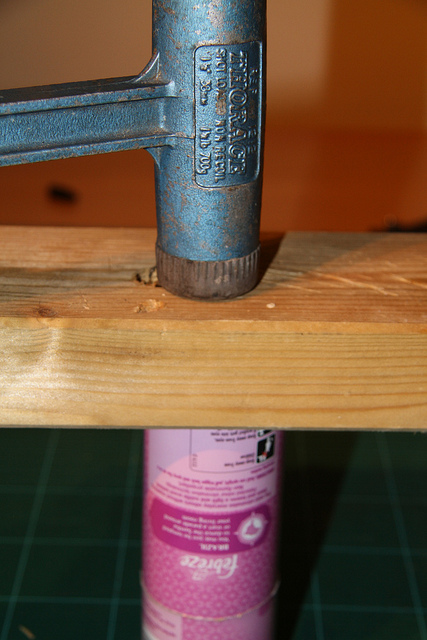
Gently persuade the inverted top section of can into the lower section, the sloping shoulders of the can make this easier but a block of wood and hammer helps more. Make sure the rounded top of the can seats properly into the base of the bottom section of the can this helps the pressurisation of the stove.
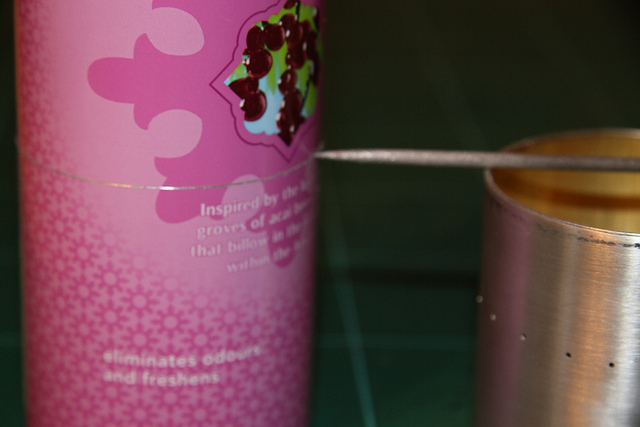
Next carefully cut along bottom can edge. Again a clean careful cut will save time in cleaning it up.
Once the excess can has been removed, use a emery sheet to flatten and clean the top stove edge. This is important to give a good seal against the cooking vessel to preserve the pressurisation of the stove.
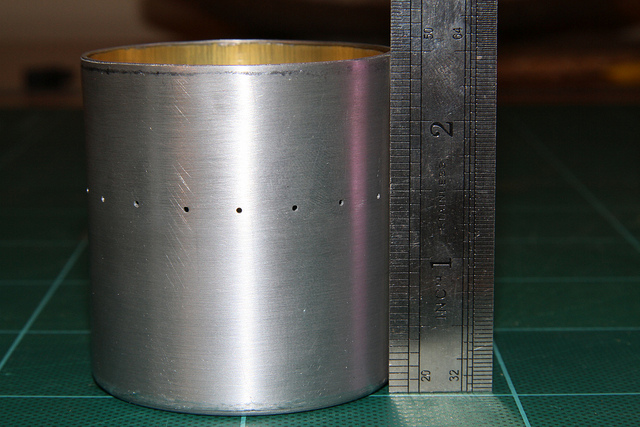
A photocopied ruler wrapped around can was used to mark hole positions.
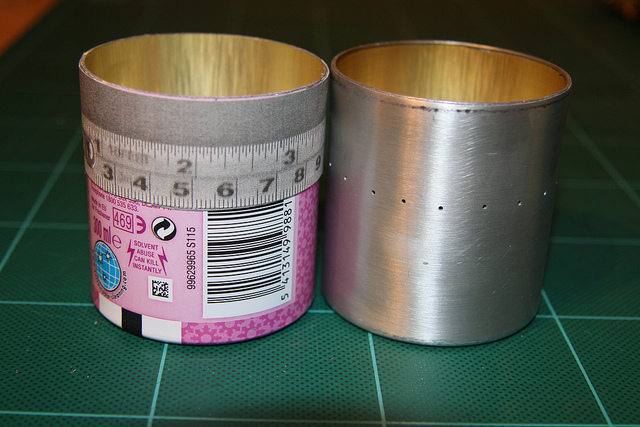
Use a fine permanent marker pen. DO NOT center punch the hole positions, it distorts the can too much and can lead to distorted jet patterns.
This “receipe” calls for 19 holes each 1mm diameter, when making a new stove or using a different can start with fewer holes of smaller diameter, this can then be expanded, more holes / larger diameters to achieve the flame spread required. Take care drilling with small diameter bits, drill straight holes or the bit will bend and break.
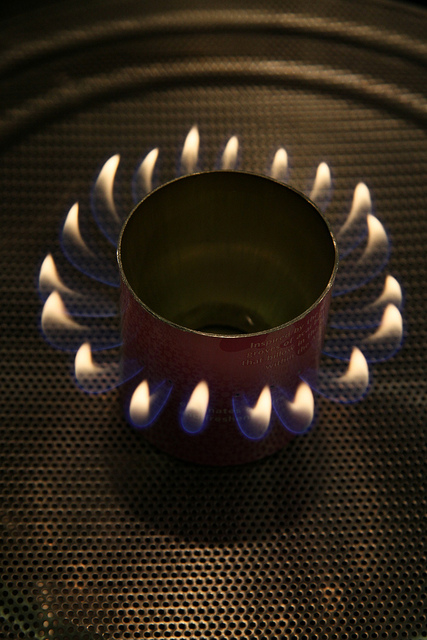
First test firing of new stove. The receipe still seems to work giving a good flame spread.
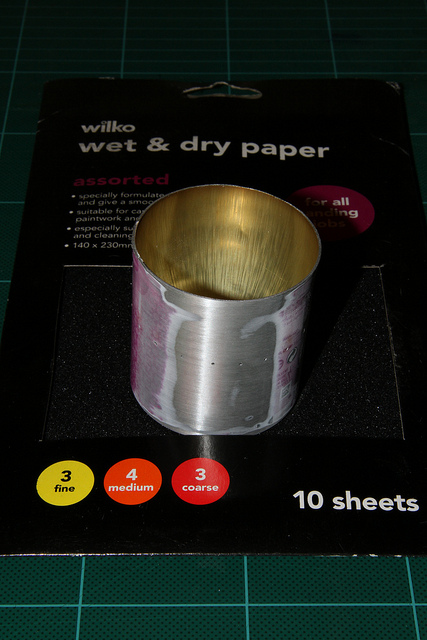
Remove paint from can using fine emery paper. Keep directionality to advoid ugly scratches.
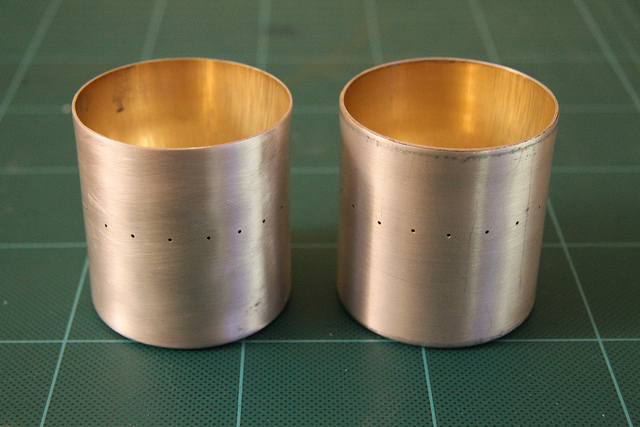
Febreeze Alcohol stoves … Which one is the clone ???? …. They both are !!! … LOL !!!
More annotated photographs available on my Flicker site.
See here … http://www.flickr.com/photos/whistle5/sets/72157629276513625/
Hope this makes the process clear. Have fun and remember Alcohol is very flammable and can be dangerous especially when spilt, take care when firing the stove for the first time as it could be unpredictable!!!


even cheaper basic material, and also super-simple:
http://www.thesodacanstove.com/