Paddling tips, tricks, news and gear reviews from an Unsponsored point of view

Kayak Repair – An Alternative Approach

Welding kayaks isn’t that difficult once you get your eye in. However any boats made from cross linked plastic have additional issues as the the temperature difference between welding and blowing the plastic apart is a very narrow margin.

Quite often even the best welded repair will have some level of weakness and could fail. Some paddlers add wire mesh to strengthen the repair and I myself have found this to be very successful and almost bombproof depending on the location of the weld.

However there is an alternative that I have seen on a number of boats over the last few months. It looks rather industrial but seems to work really well. Below is a series of images from Nick Wright who used this alternative approach to repair a Jackson Kayak play boat.

unsponsored_repair

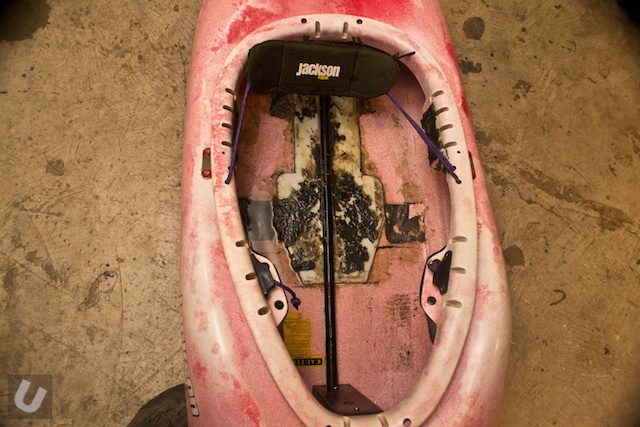
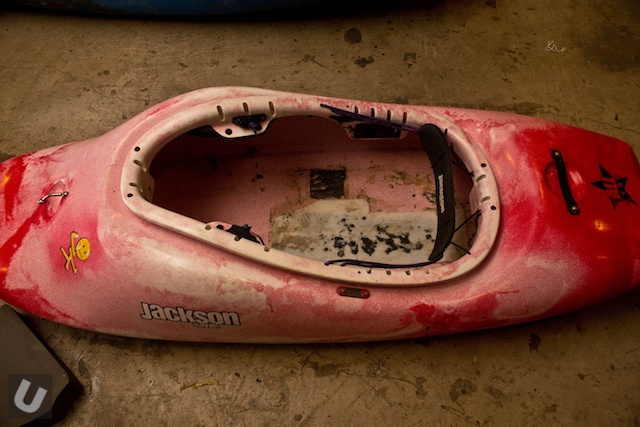
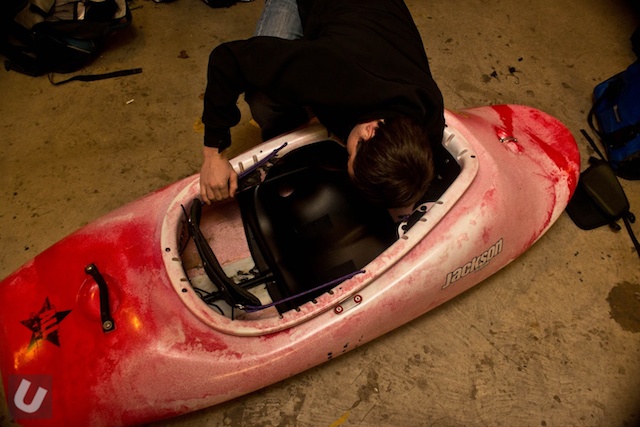
The boat had suffered damage to the area below the seat, which is pretty much where most boats will fail. The previous owner had used a large plastic patch to support and seal the damage but this had begun to fail.

unsponsored_repair8

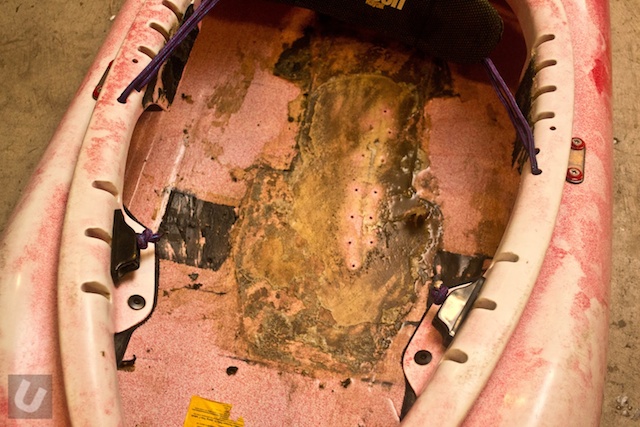
The first part of the process was to get access to the damage by removing the seat and the plastic patch.

unsponsored_repair9

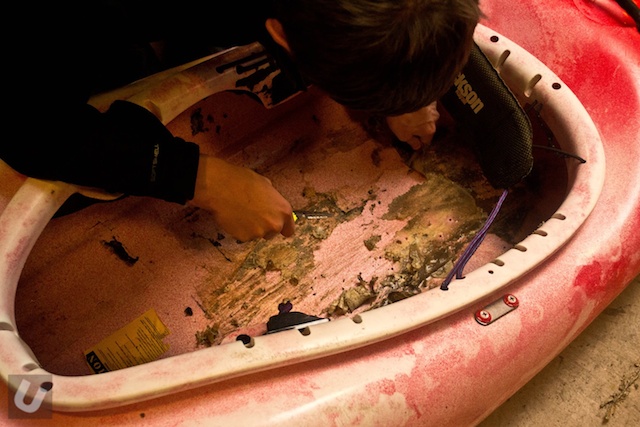
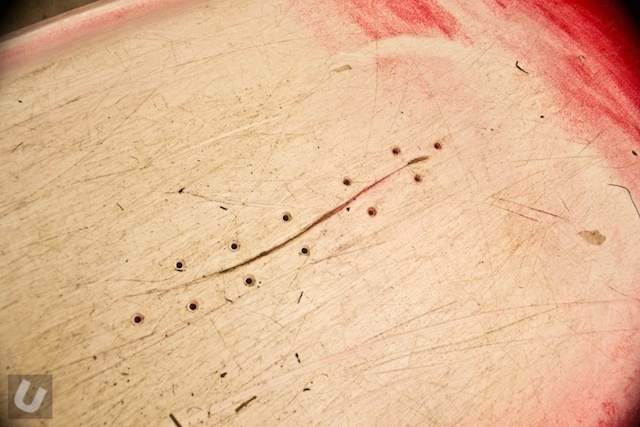
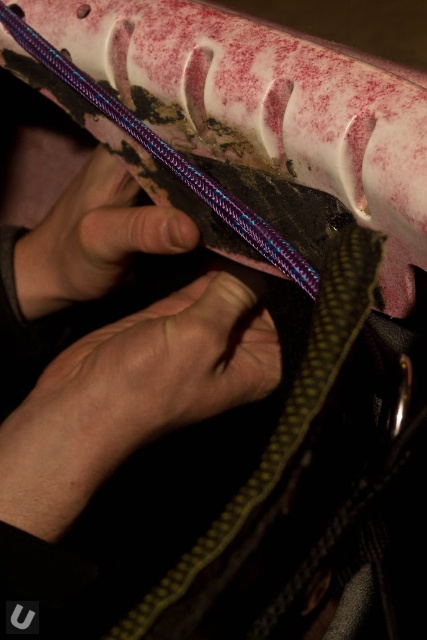
A fair bit of time was required to get the area clean enough to accept the new repair.

unsponsored_repair13

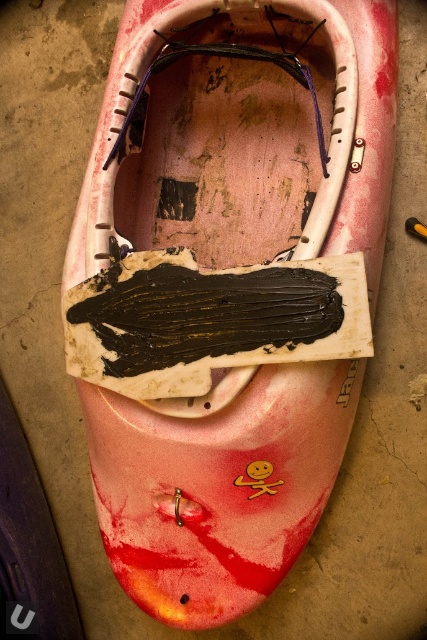
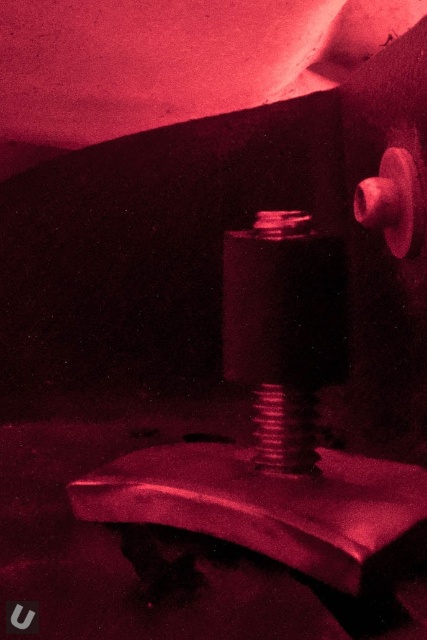
As the patch used was of a good size is was reused. A copious amount of black silicone sealant was applied to the patch.

unsponsored_repair11

The patch was set in place and given time to cure.

unsponsored_repair2

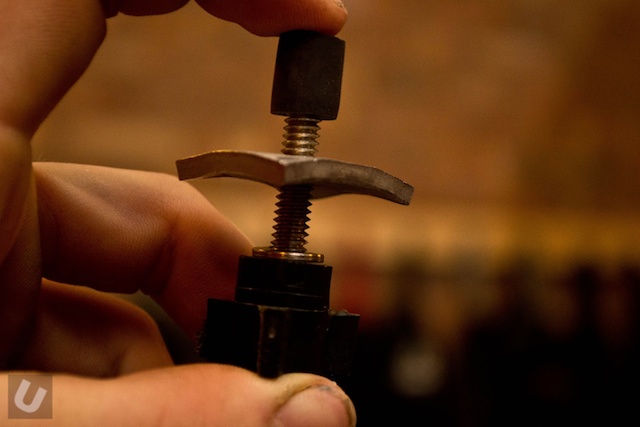
The hole and the patch had been drilled by the previous owner and it is this part of the process that I believe can save a badly damaged boat.

unsponsored_repair7

With a combination of a patch, sealant and a method to fasten it all together (the patch – fastened to the boat) you can produce a really good repair that keeps the water out but is quite robust.

unsponsored_repair6

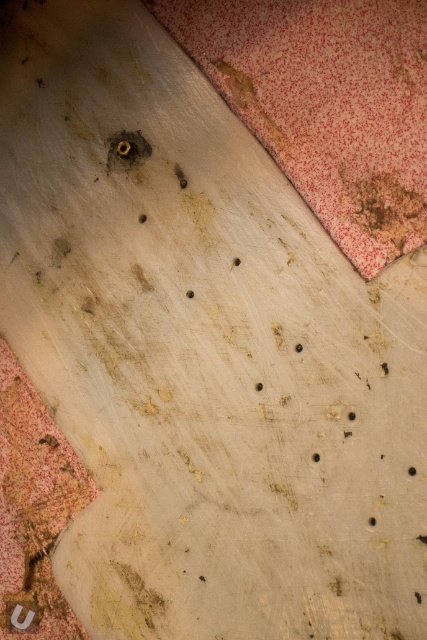
Bolts or pop rivets seem to be the weapons of choice and are used to permanently attached the patch to the boat. This not only keeps the patch in place but also gives the whole area a greater level of stability.

unsponsored_repair4

Once set and sealed the boat was pieced back together.

unsponsored_repair14

unsponsored_repair1

unsponsored_repair3

9 Comments

  1. jimkennedy (@jimkennedy)

    Nice.

    Another thing that would help is to drill little holes at each end of the original crack. The rounded-out holes at the ends of the crack will prevent the crack from propagating further. Without the holes, the crack can continue to grow along the original direction.

    • Tod

      hmm, do you see where the crack is wider at the end on the right hand side?

  2. Alan

    Sorry, but I find parts of this rather confusing. Why have the holes been drilled either side of the split (I understand why each end of a split should be drilled to stop the split continuing further). Also, I can’t work out where the bolts or pop rivets go – in the drilled holes?

    • Unsponsored

      Used to bolt the plastic sheet to the boat.

  3. Michiel

    I’ve done similar repairs in the past by patching a rip with thin aluminium plates and woodscrews (saw off the ends that stick through the outside of the hull). To seal everything I used neoprene or pieces of bicycle inner tire (rubber). Works great and the aluminium can be shaped nicely to follow the contours of the boat.

  4. Sean Morley

    It should be noted that current model Jackson Kayaks are made from linear plastic that is possible to weld. I have had very good success with Nashua plumbers repair tape that will allow a field repair – it even sticks to wet boats.

  5. Mike Atkinson

    Is there a concern that the rivets will get ground off as the bottom scrapes over features? That is a common place for grinding off plastic while paddling. Will there be a follow up post documenting the long term effectiveness?

  6. jimyak

    As a metal fabricator I read this with interest and then scratched my head in wonder. First off, you must drill the ends of the crack to stop its advancment. Then place a second layer of similar material inside the boat, drill a pilot hole every inch and screw the patch in temporality with drywall screws from the outside. When drilling, be sure to start at the center and work toward each end on both sides of the crack, putting screws in as you drill each hole. Then, weld down the crack joining the original hull with the backing material while filling the crack flush with the surface. Then remove the screws one by one and weld them up stitching the 2 layers together. Now go inside and weld around the patch sealing the boat from leakage. You can plan on this lasting a really long time if you get decent material flow between layers.

  7. Cole Dean

    I am aware this is a very old post I am commenting on, but an additional thing worth considering is the shape of the plate used. I recently re-repaired an old club boat which had been repaired with this method. However as a result of this method 2 giant cracks (6 inch and 4 Inch) appeared on the bottom in line with the edges of the plate (In a perfect curve the same shape as the plate). This is because as the paddler sits on top of the plate it forces all the paddlers weight through pressure points along the edge of the plate. And as the plate doesn’t flex it can (As it did in this case!) crack straight through the bottom of the boat.

Leave a Reply

This site uses Akismet to reduce spam. Learn how your comment data is processed.

© 2024 Unsponsored

Theme by Anders NorénUp ↑