I have had Wahoo turbo trainers for the last few years. The first being the Kickr Snap which worked well but its resistance would fluctuate quite a bit depending on tyre pressure and air temperature.
I decided in January 2019 to get a wheel off Kickr 18 as I really like riding on Zwift and the wheel off meant that I could almost fit and forget.
Within a couple of weeks the unit began to display the clunking and clicking that many units had suffered. The flywheel was also running with a bit of a wobble. A replacement arrived a few days after raising a support ticket and submitting a short video of the issue.
I have been using that replacement ever since and have covered almost 2000km on it for almost the last year and a half.
Last week it started to make a few slight noises that I didn’t like the sound of and a vibration could be detected through the pedals. The noise was a slight click and a rubbing/squeal from the belt drive. The squeal was noticeable when the flywheel was coming to a stop.
As it turns out is seems that the noises it had been making had been developing for some time but as it was gradual I didn’t really notice straight away until it was pretty bad. I didn’t realise this until it was fixed.
Given the current world wide lockdown situation all makes of turbo trainers are in high demand and I didn’t want to be in a situation of being without a trainer. Or even worse receive an equally broken replacement as a few users on social media have reported. Wahoo are also no longer sending out the DIY repair kit (K118).
Now to save you reading on I have diagnosed and fixed the issue with parts that are readily available and using tools that I had.
There are lots of great videos online that show the Kickr taken apart so I haven’t bothered to show that.
Kickr have acknowledged there is an issue with some units. It looks like my replacement unit also fell within the window of the dodgy batch.
Now the information below relates to what I did to my Wahoo Kickr. The same process can be used to repair a Kickr Core with the same issues.
Notice:
Taking apart YOUR trainer is at YOUR risk. I take no responsibility for any damage or injury that may occur if you do what I did. Please presume that any DIY work may void your warranty.
Tools:
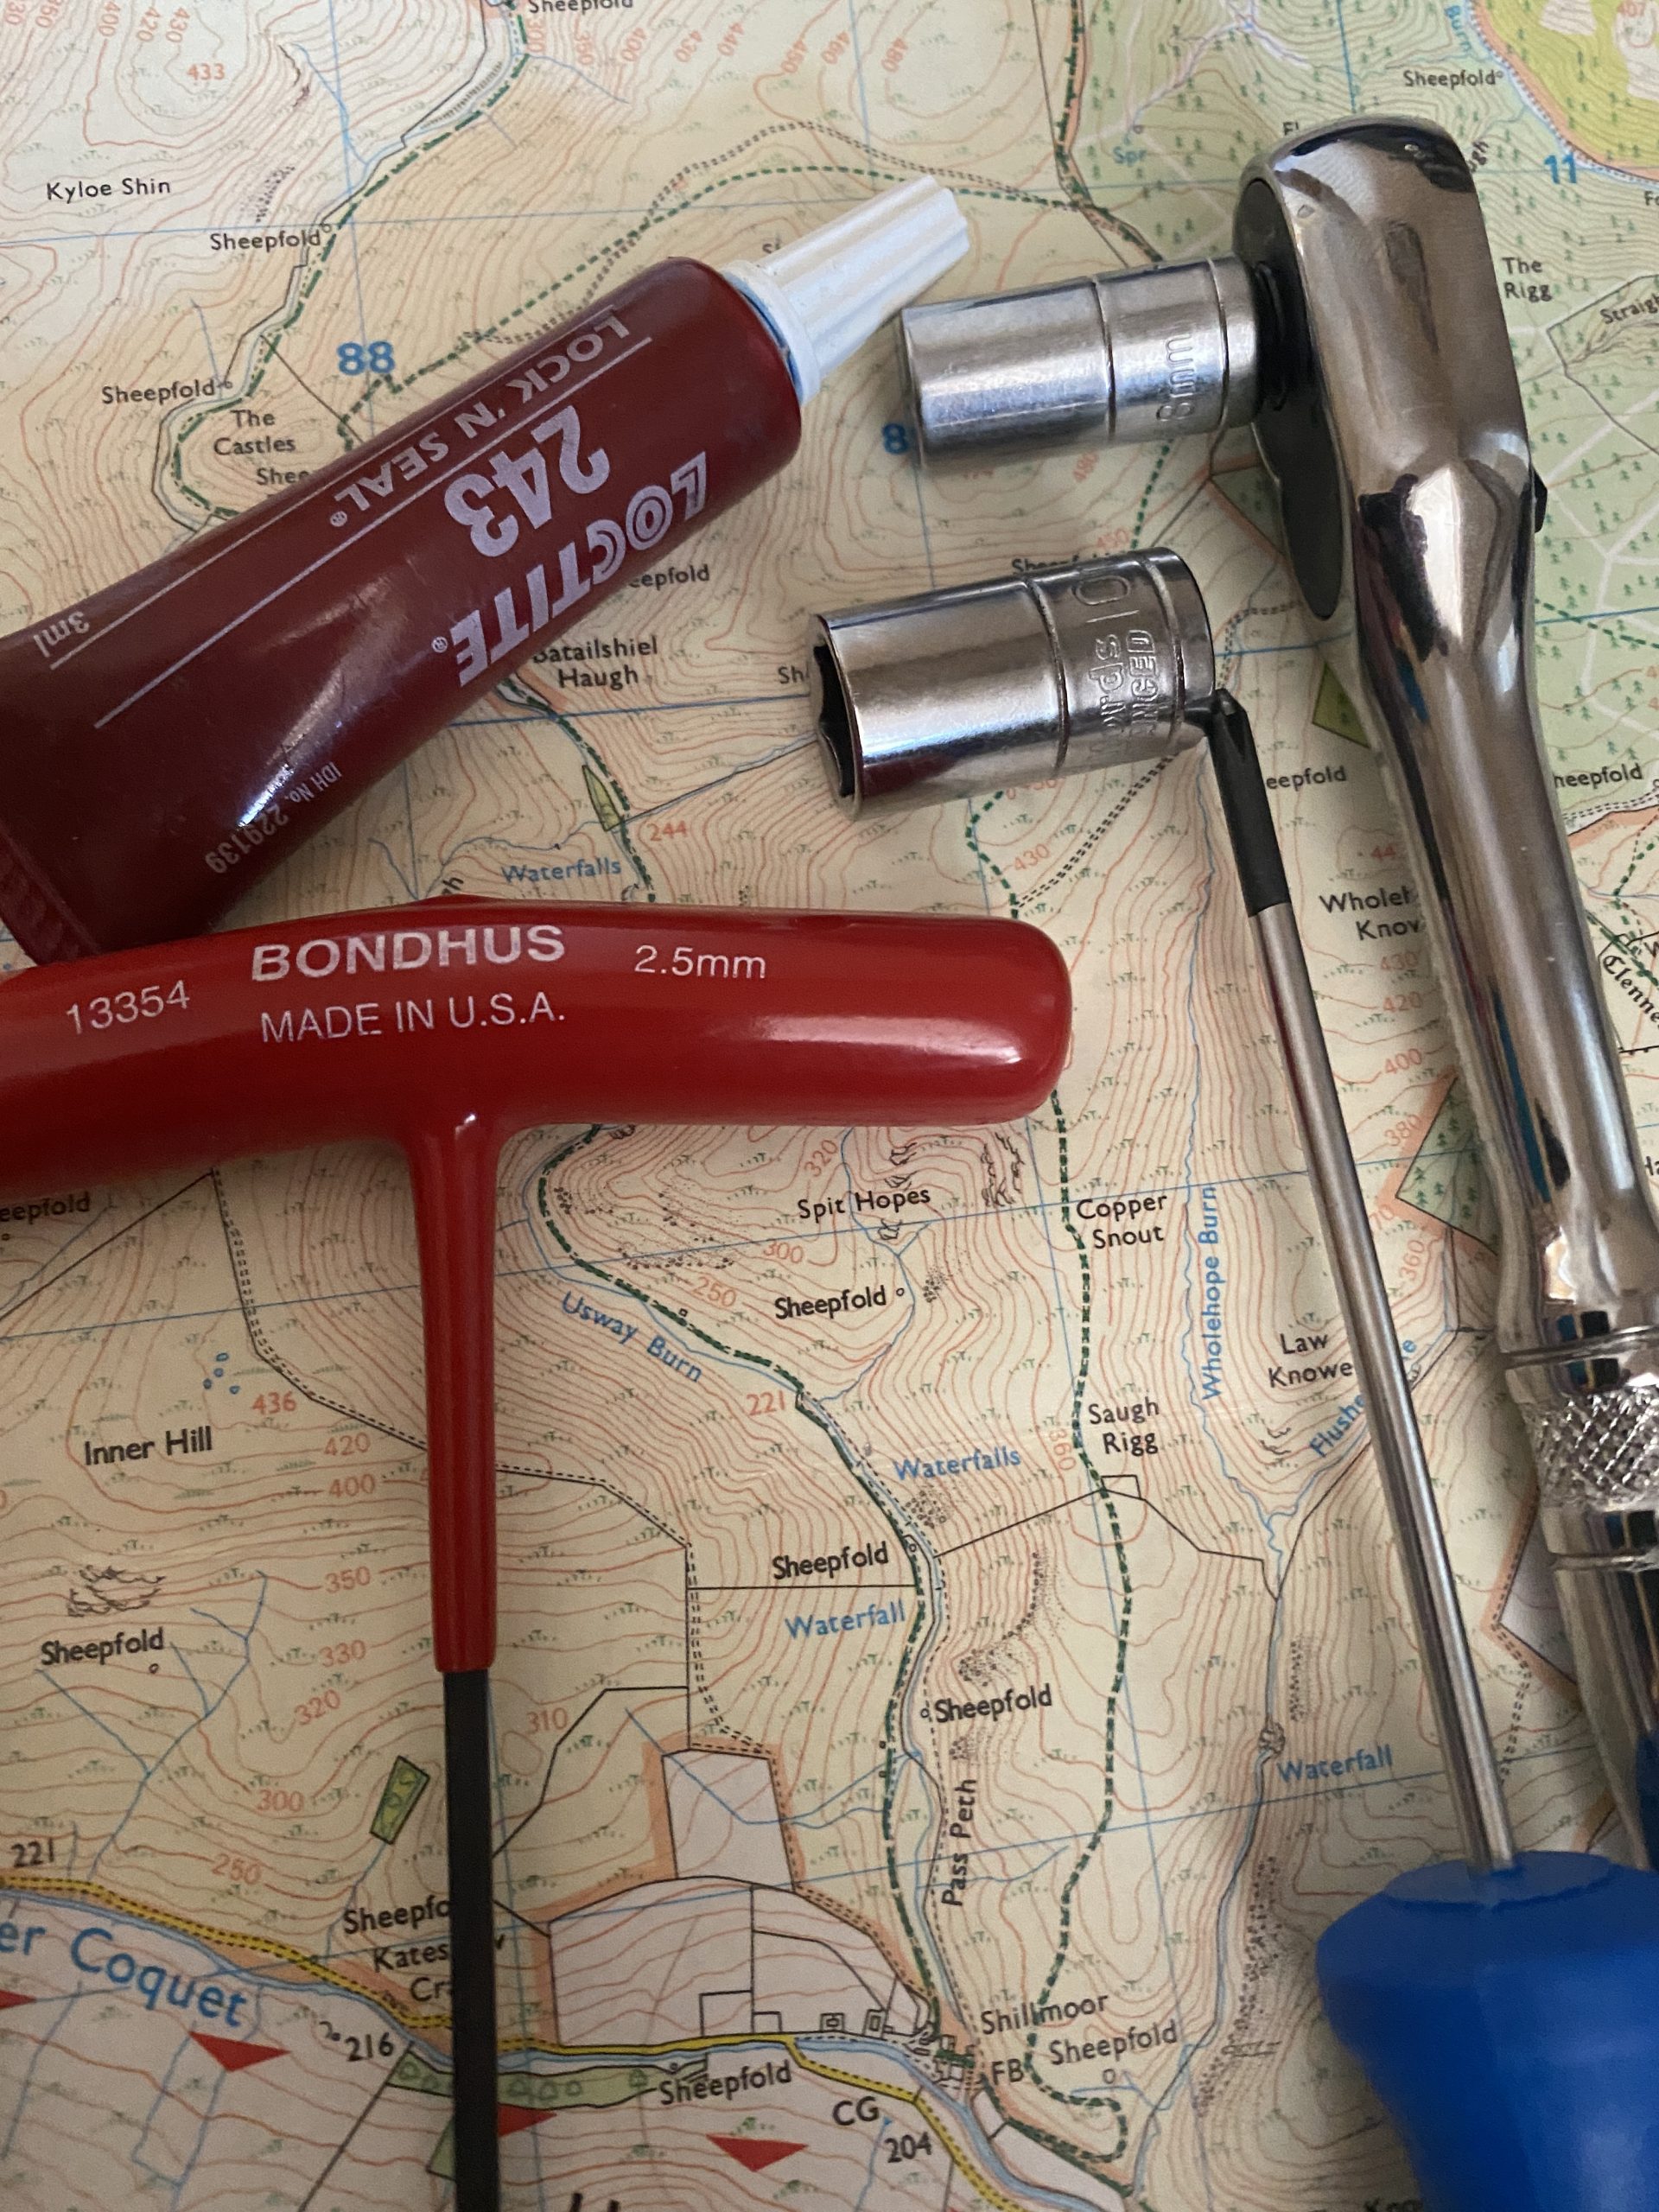
To remove the cover and get access to the pulley you will need a 2.5mm hex key, and two differently sized Philips head screw drivers to remove three cover retaining screws.

Hex keys were needed to remove the original M6 and M5 two bolts. 10mm and 8mm sockets were needed to fasten in my new bolts. I also used a punch to help fit the new key.
A torque wrench was also used to ensure the new bolts were snug but not too tight.
Bolts:
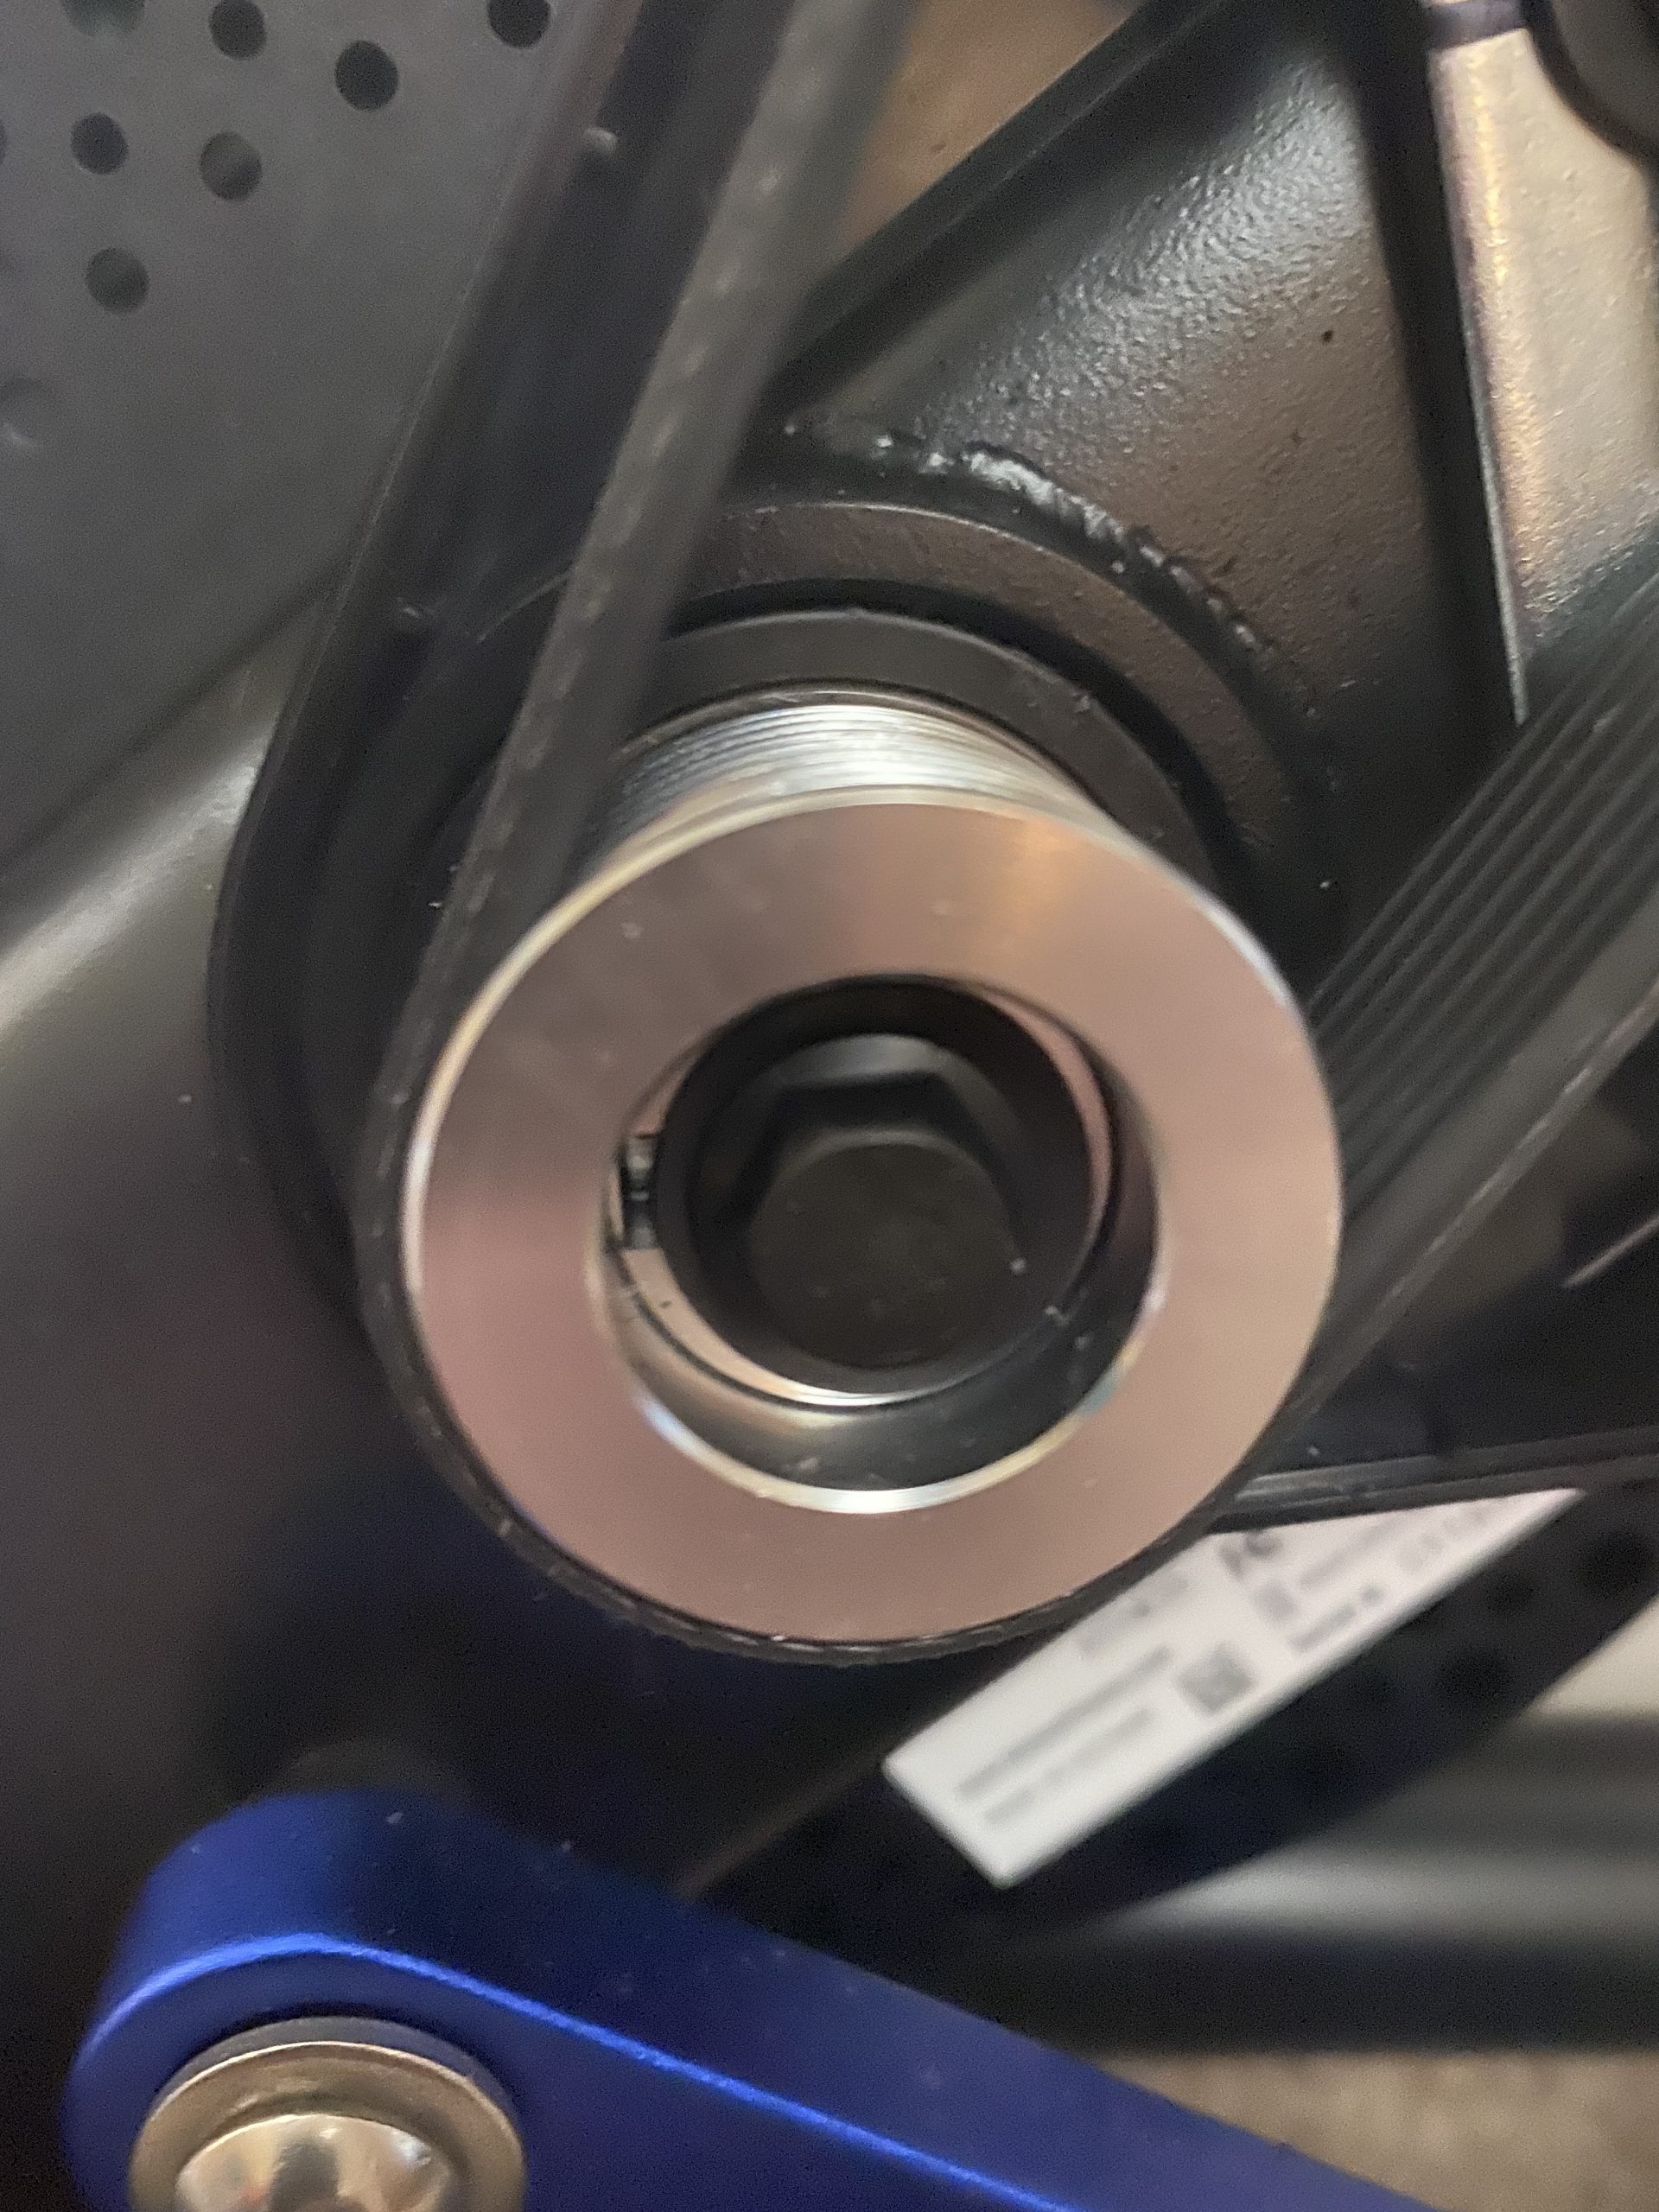
Once of you have access to the pulley wheel and belt tensioner. The pulley is held on with a M6 12mm bolt (Note: that in some cases and some Kickr Core this may be a M8) and the tensioner is held in place with a M5 12mm bolt. The tensioner is moved up and down with a long 2mm bolt. I used a marked to identify where the centre of the bolt was located. The tensioners M5 bolt was back off and the 2.5 hex bolt was unwound to remove the tension on the belt drive. The belt was then removed from the pulley.
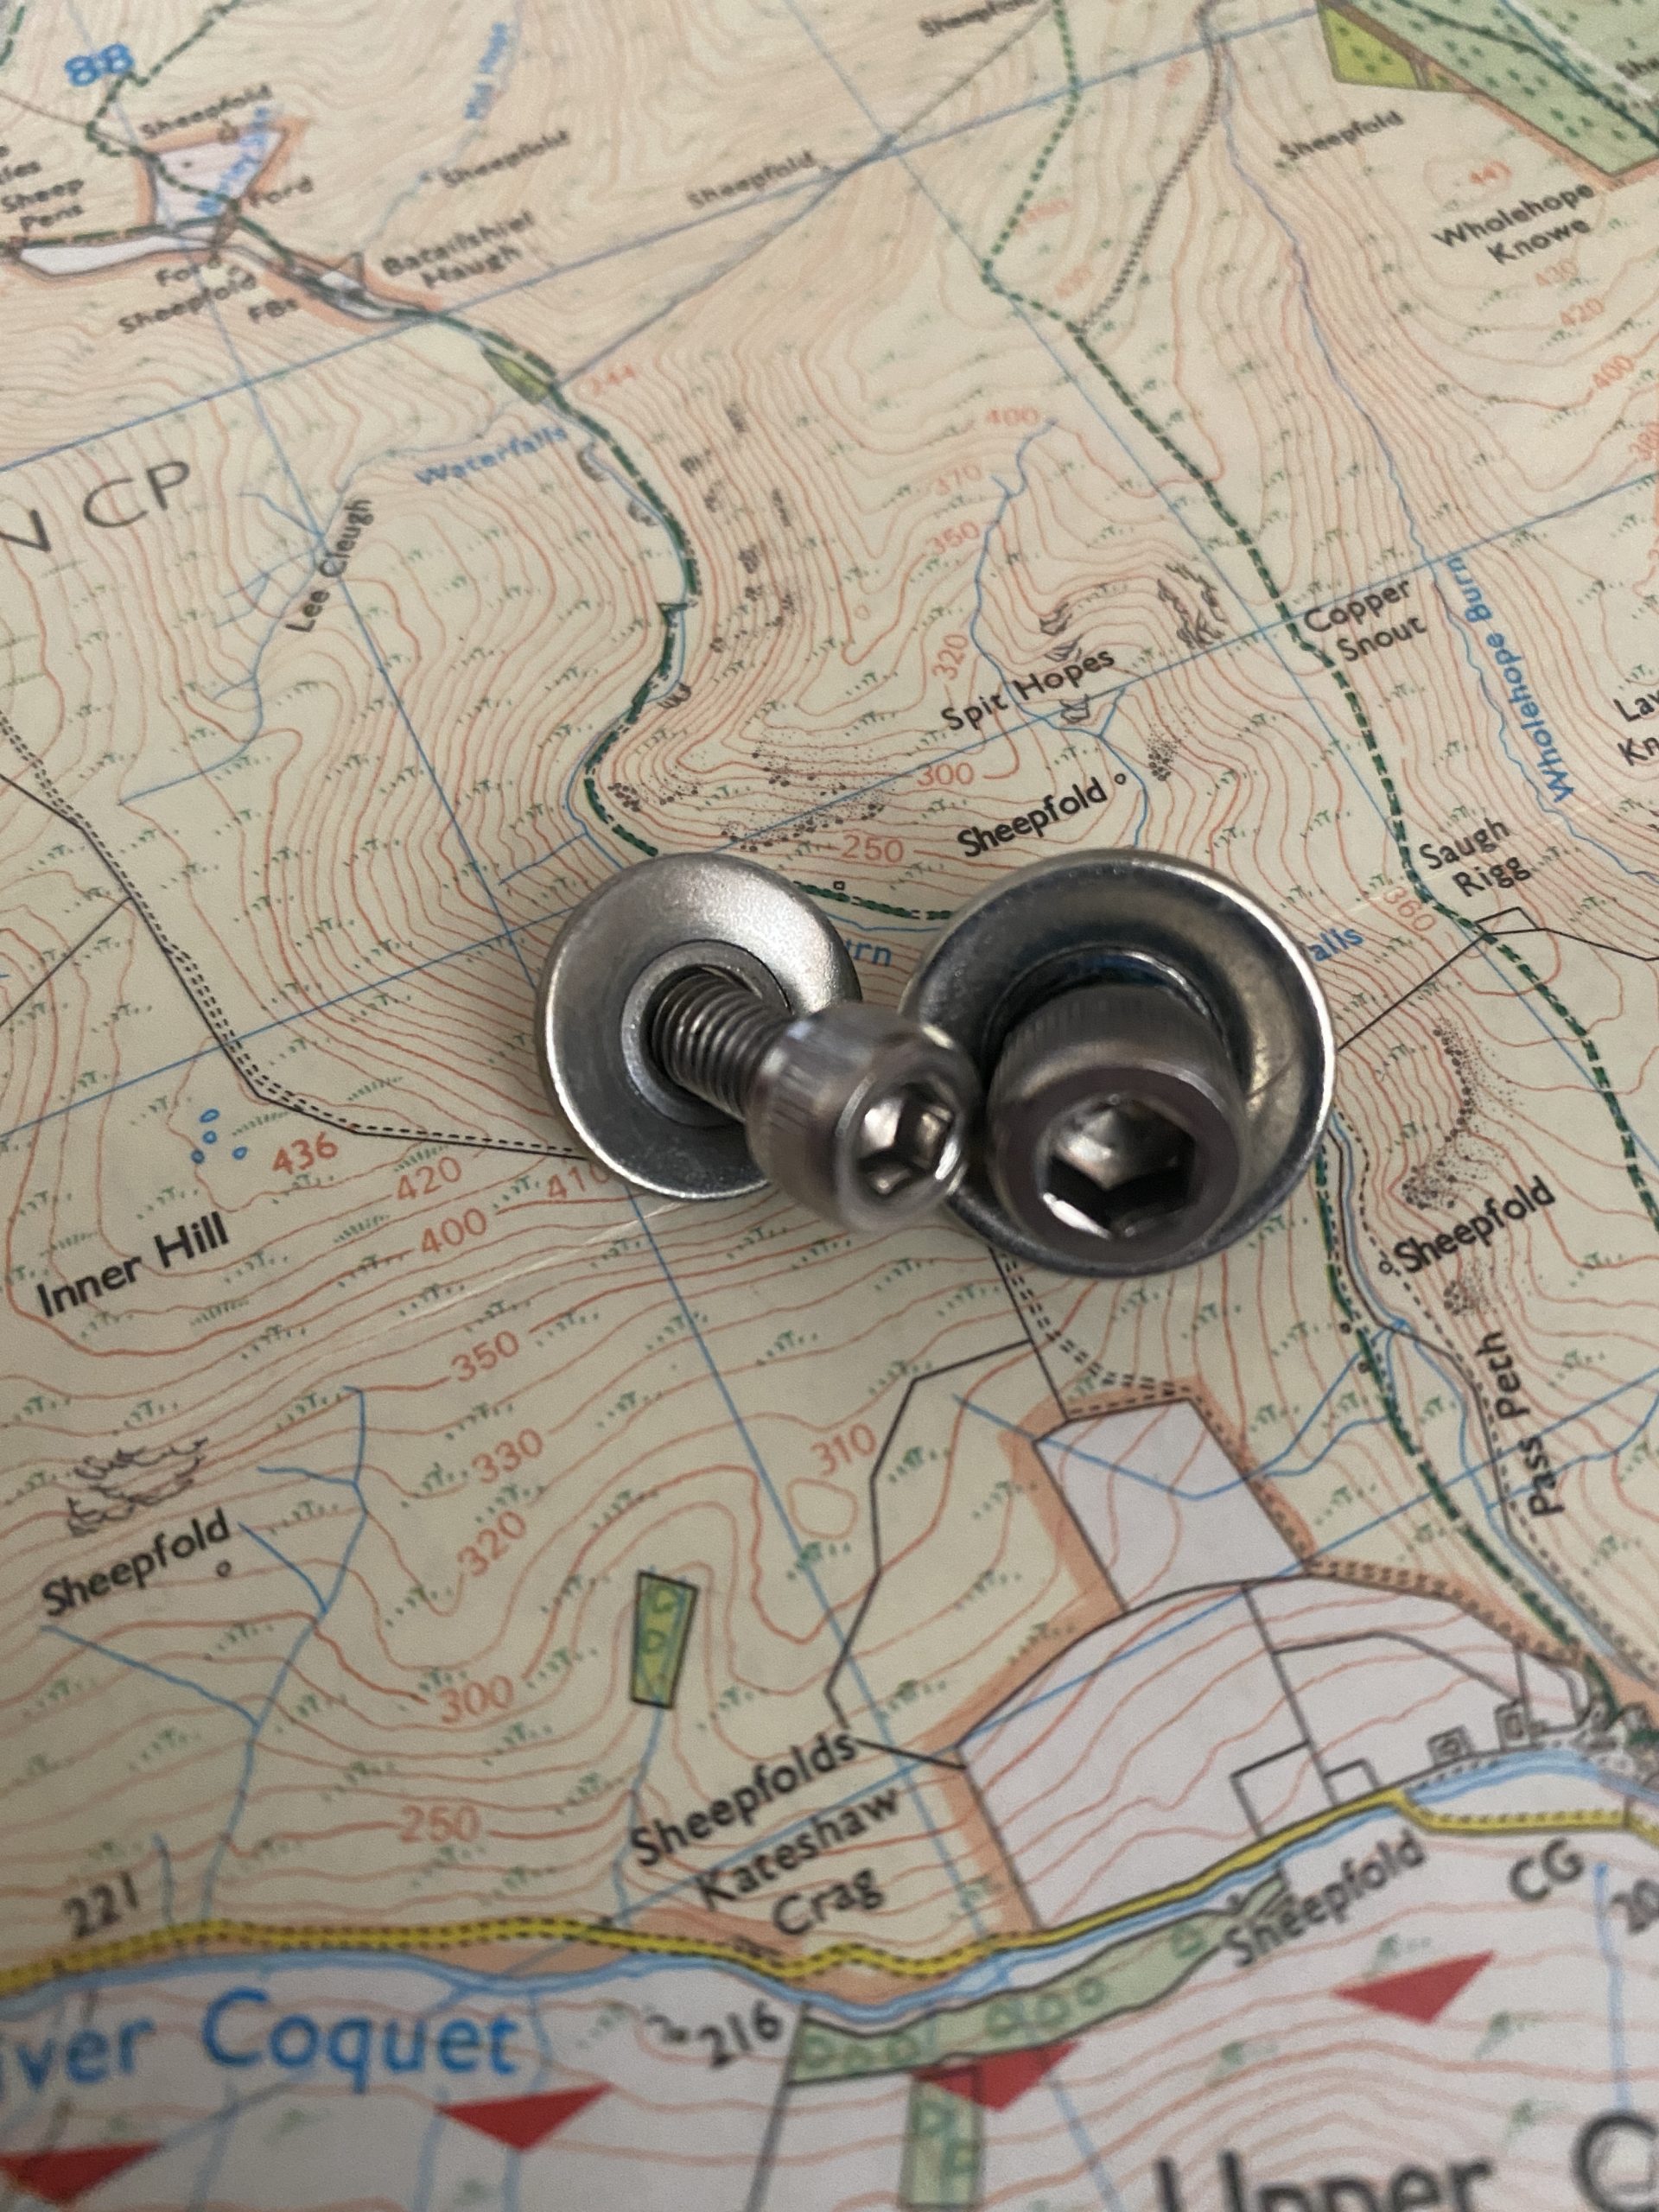
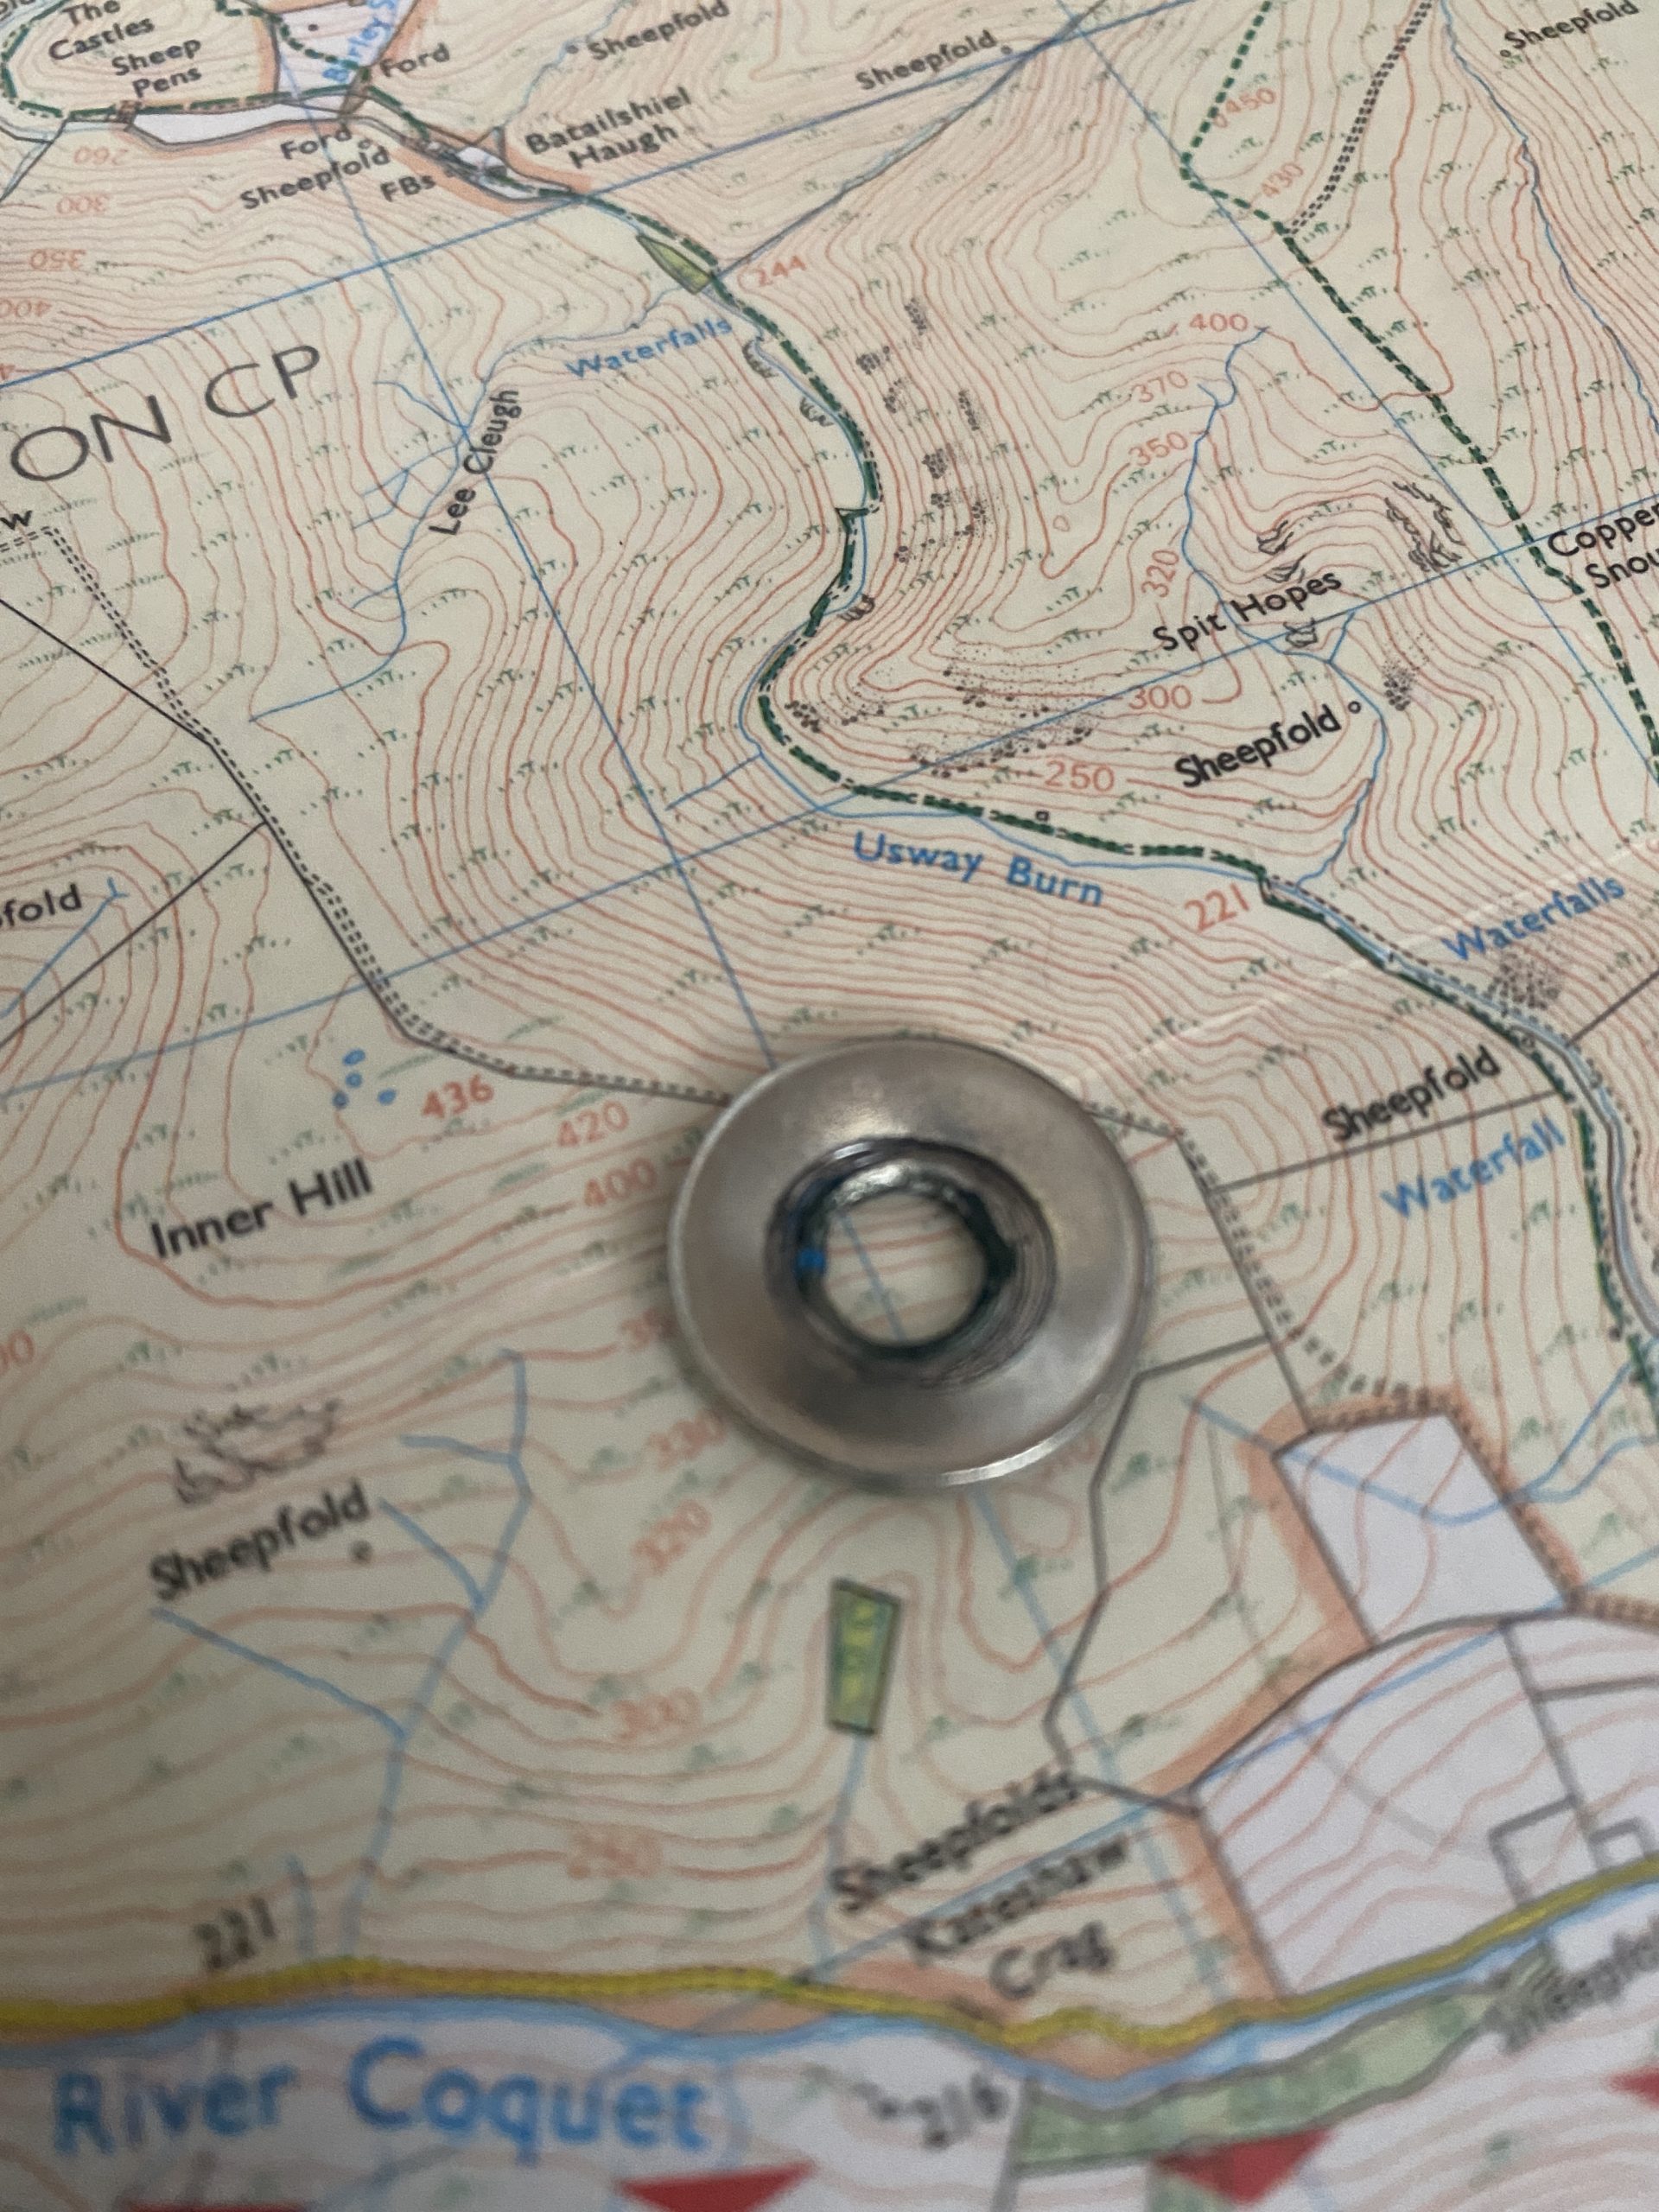
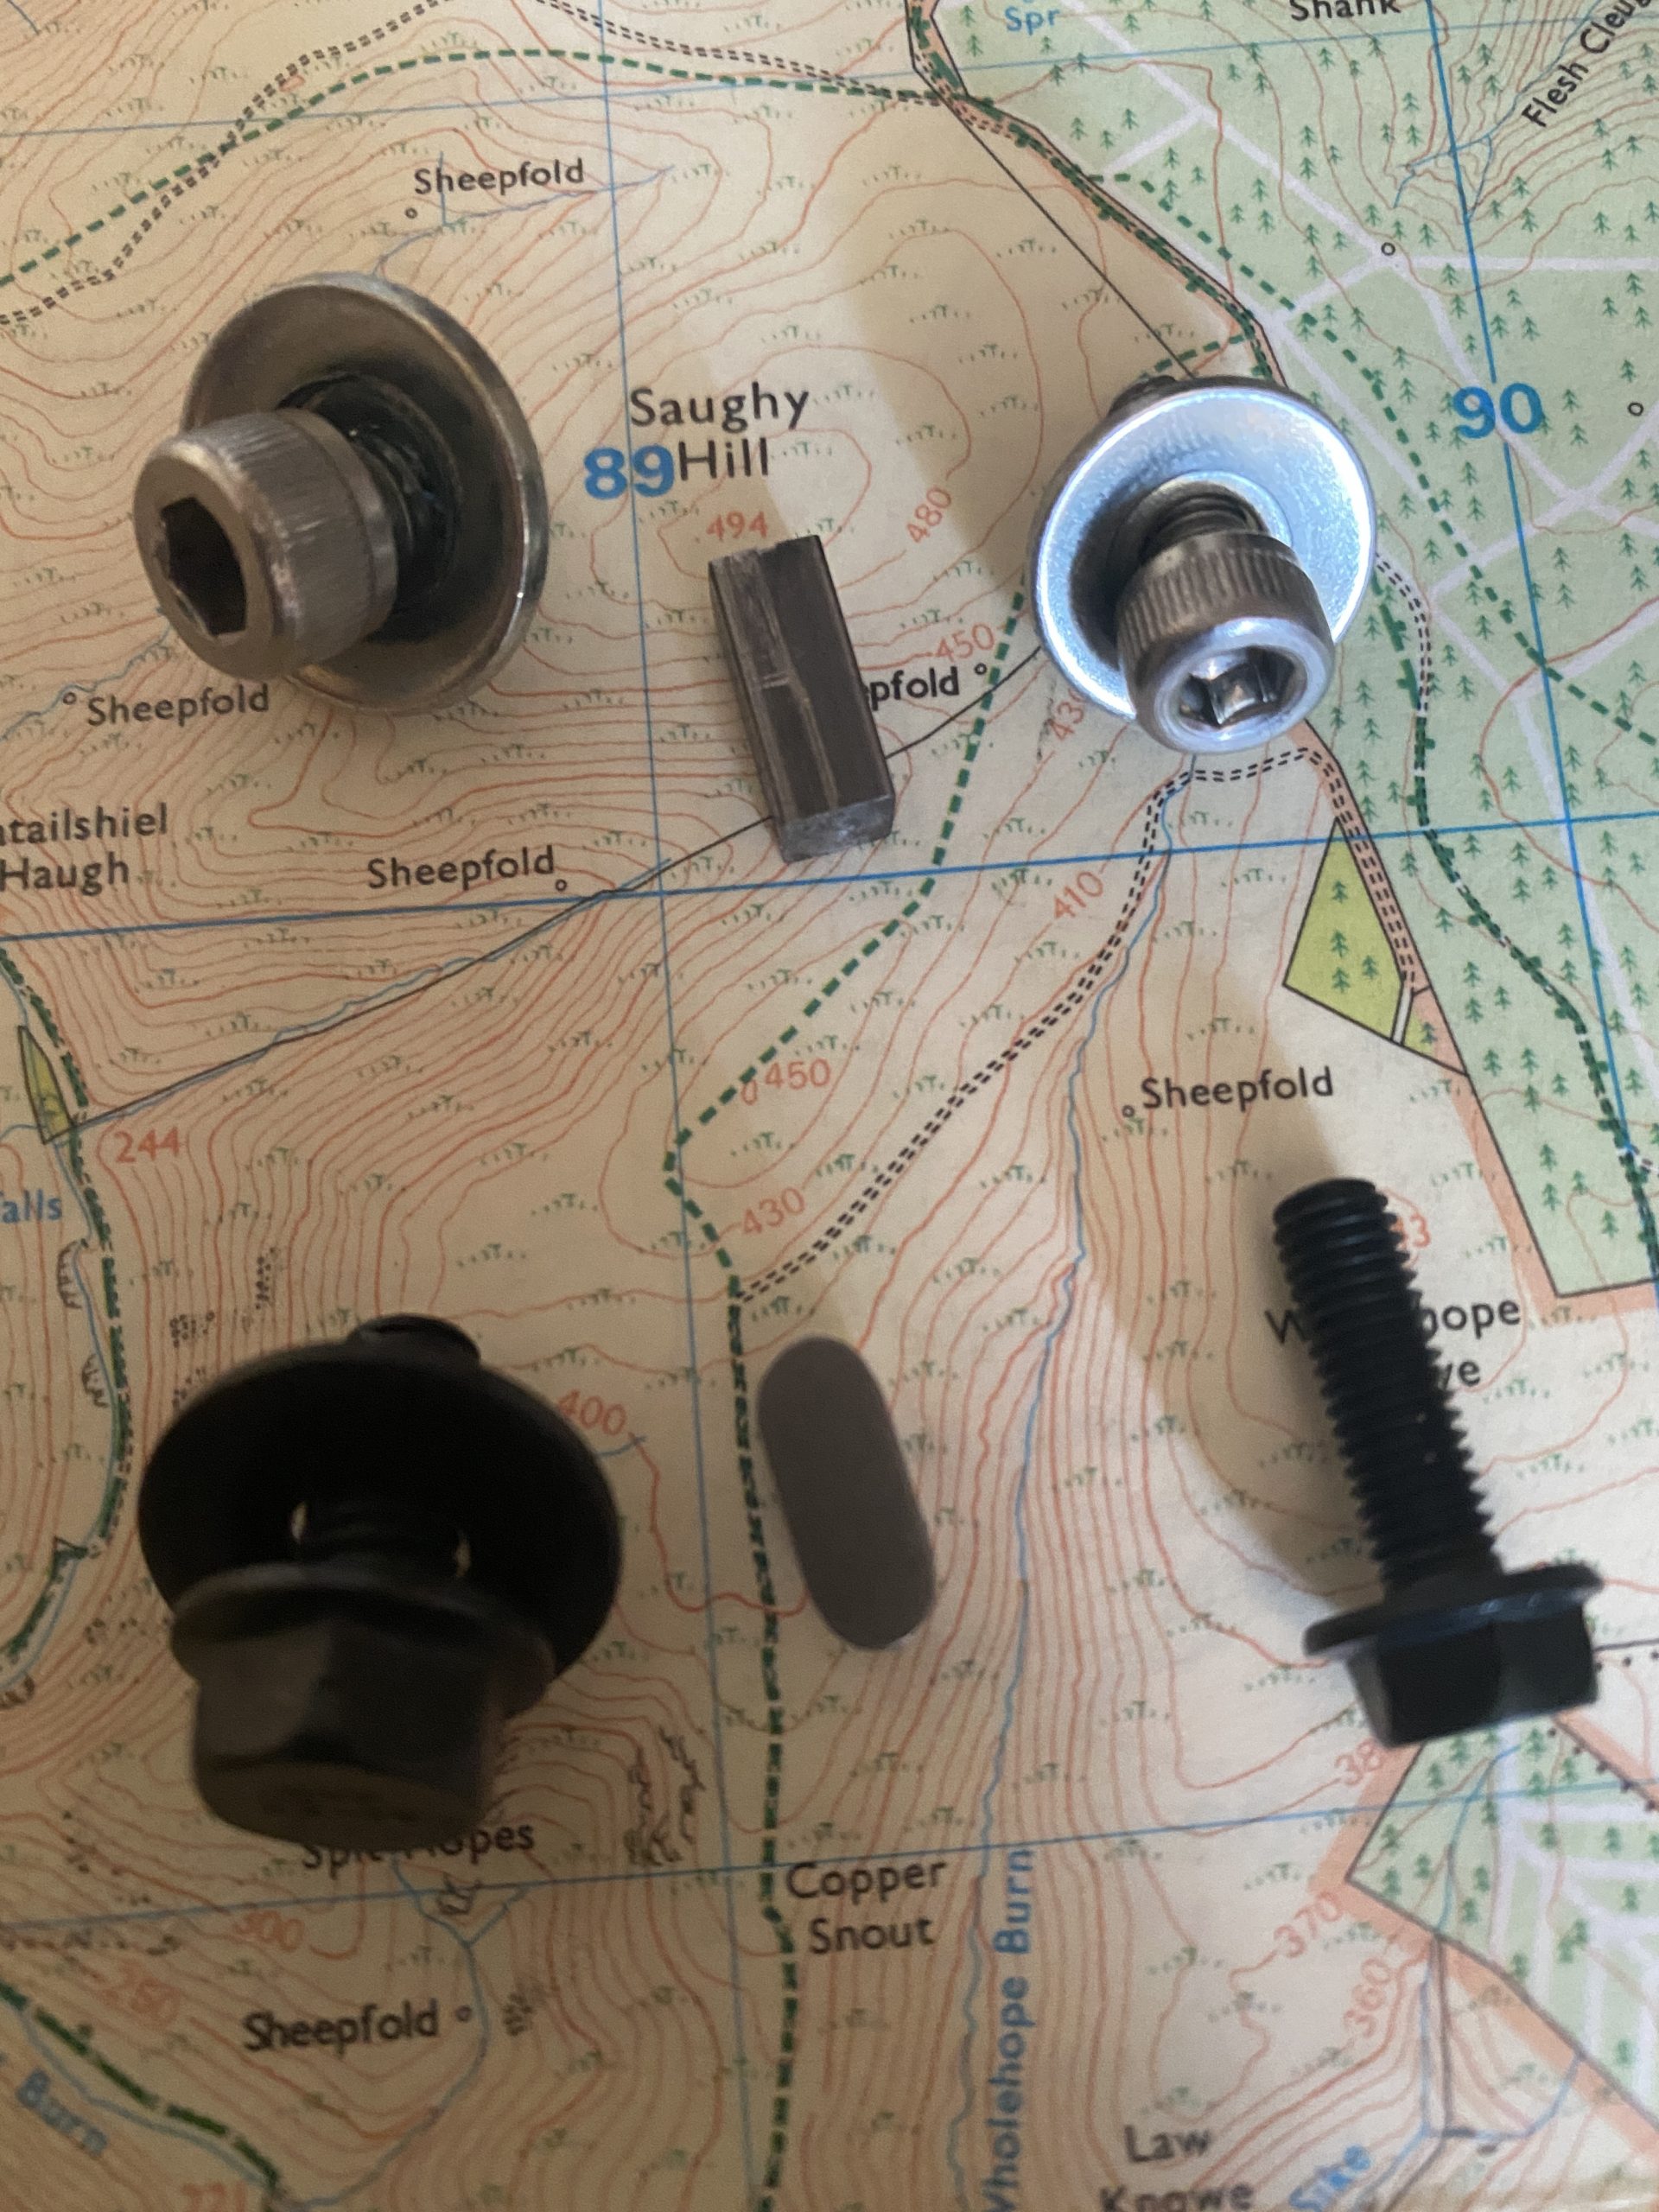
Both the M6 and M5 bolt have washers that are deformed during fitting. In order to avoid this the replacement bolts were ordered, M6 x 12mm and M5 x 16mm with flanged heads and a larger M6 18mm diameter washer.
In the Wahoo repair kit K118 the bolt supplied for the pull wheel is a high tensile 10.9 flange steel hex which will take 16Nm. I originally used a black stainless bolt as pictured and torqued up to 10Nm but have since forced the 10.9 bolts and have replaced with a 16Nm torque setting.
The Key:
When the pulley was removed the key simply fell out. I found it was undersized when I measured it so was never going to fit. 5 x 5 x 12mm replacement parallel keyswere ordered from Amazon. You can get boxes that contain multiple sizes but you’ll only need the 5 x 5 x 12mm ones.
This is culprit if you have the banging or clicking sound.
Bearings:
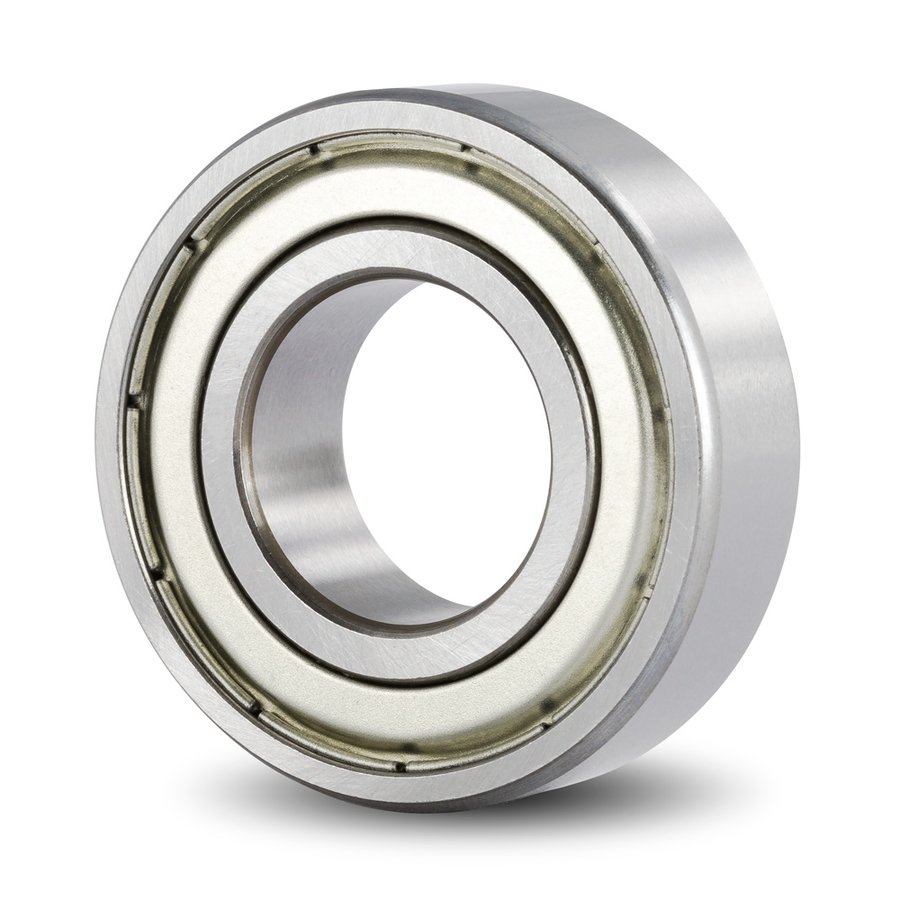
The fly wheel rotates on two doubled seal 6003 bearings from NSK. Both popped out easily enough when the flywheel and axel were removed. The flywheel side fit is much tighter. I have read some reports that this bearing needs a bit of coaxing to come out. It’s certainly a tighter fit than the other but I didn’t have to resort to hammering it out.
Both of the bearings looked OK and span freely but as they were out I decided to replace them as they did have signs of corrosion.
The two SKF 6003 replacements cost £5.66 each. I could have got them cheaper if I searched around a bit but I wanted them fast.
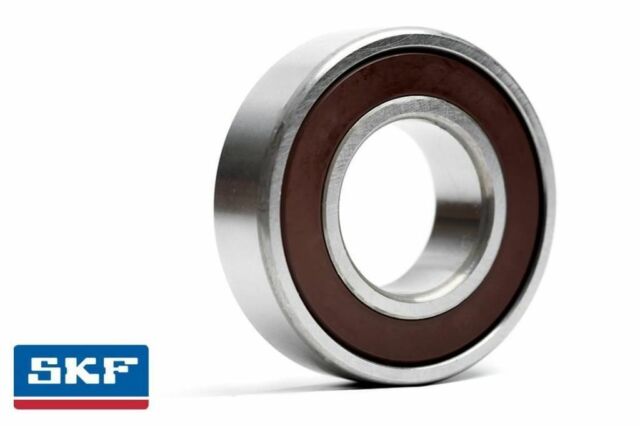
When they arrived I placed one (still in its plastic bag) in the freezer for a couple of hours. This was to shrink it very slightly in size so I could refit into the flywheel side recess with ease.
The bearings in the pulley tensioner are 6001 ZZ bearings. They have a metal shield that can’t be removed in order to inspect/regrease. Mine seemed fine but I imagine that the two that sit in the tensioner would be both difficult to get out and back in without the correct tools.
Putting it back together:
Bearings replaced with the frozen one dropped straight into the flywheel side without issue.
Flywheel axel greased and refitted. I used Phil’s Waterproof Grease.
Key hammered into the keyway with a little Loctite 243. I used a hammer and punch to send this home making sure it was tight and as far back as it would go.
Pulley was refitted and bolted in place. The M6 flanged bolt was given some Loctite 243 and the washer refitted before doing it up to 16Nm as recommended in the Wahoo DIY repair instructions.
The pulley tension bolt was replaced with the M6 flanged bolt. I decided to use another M6 washer to help spread the load further, although a wide M5 washer would have been better. Again this was given some Loctite 243 before bolting it up.
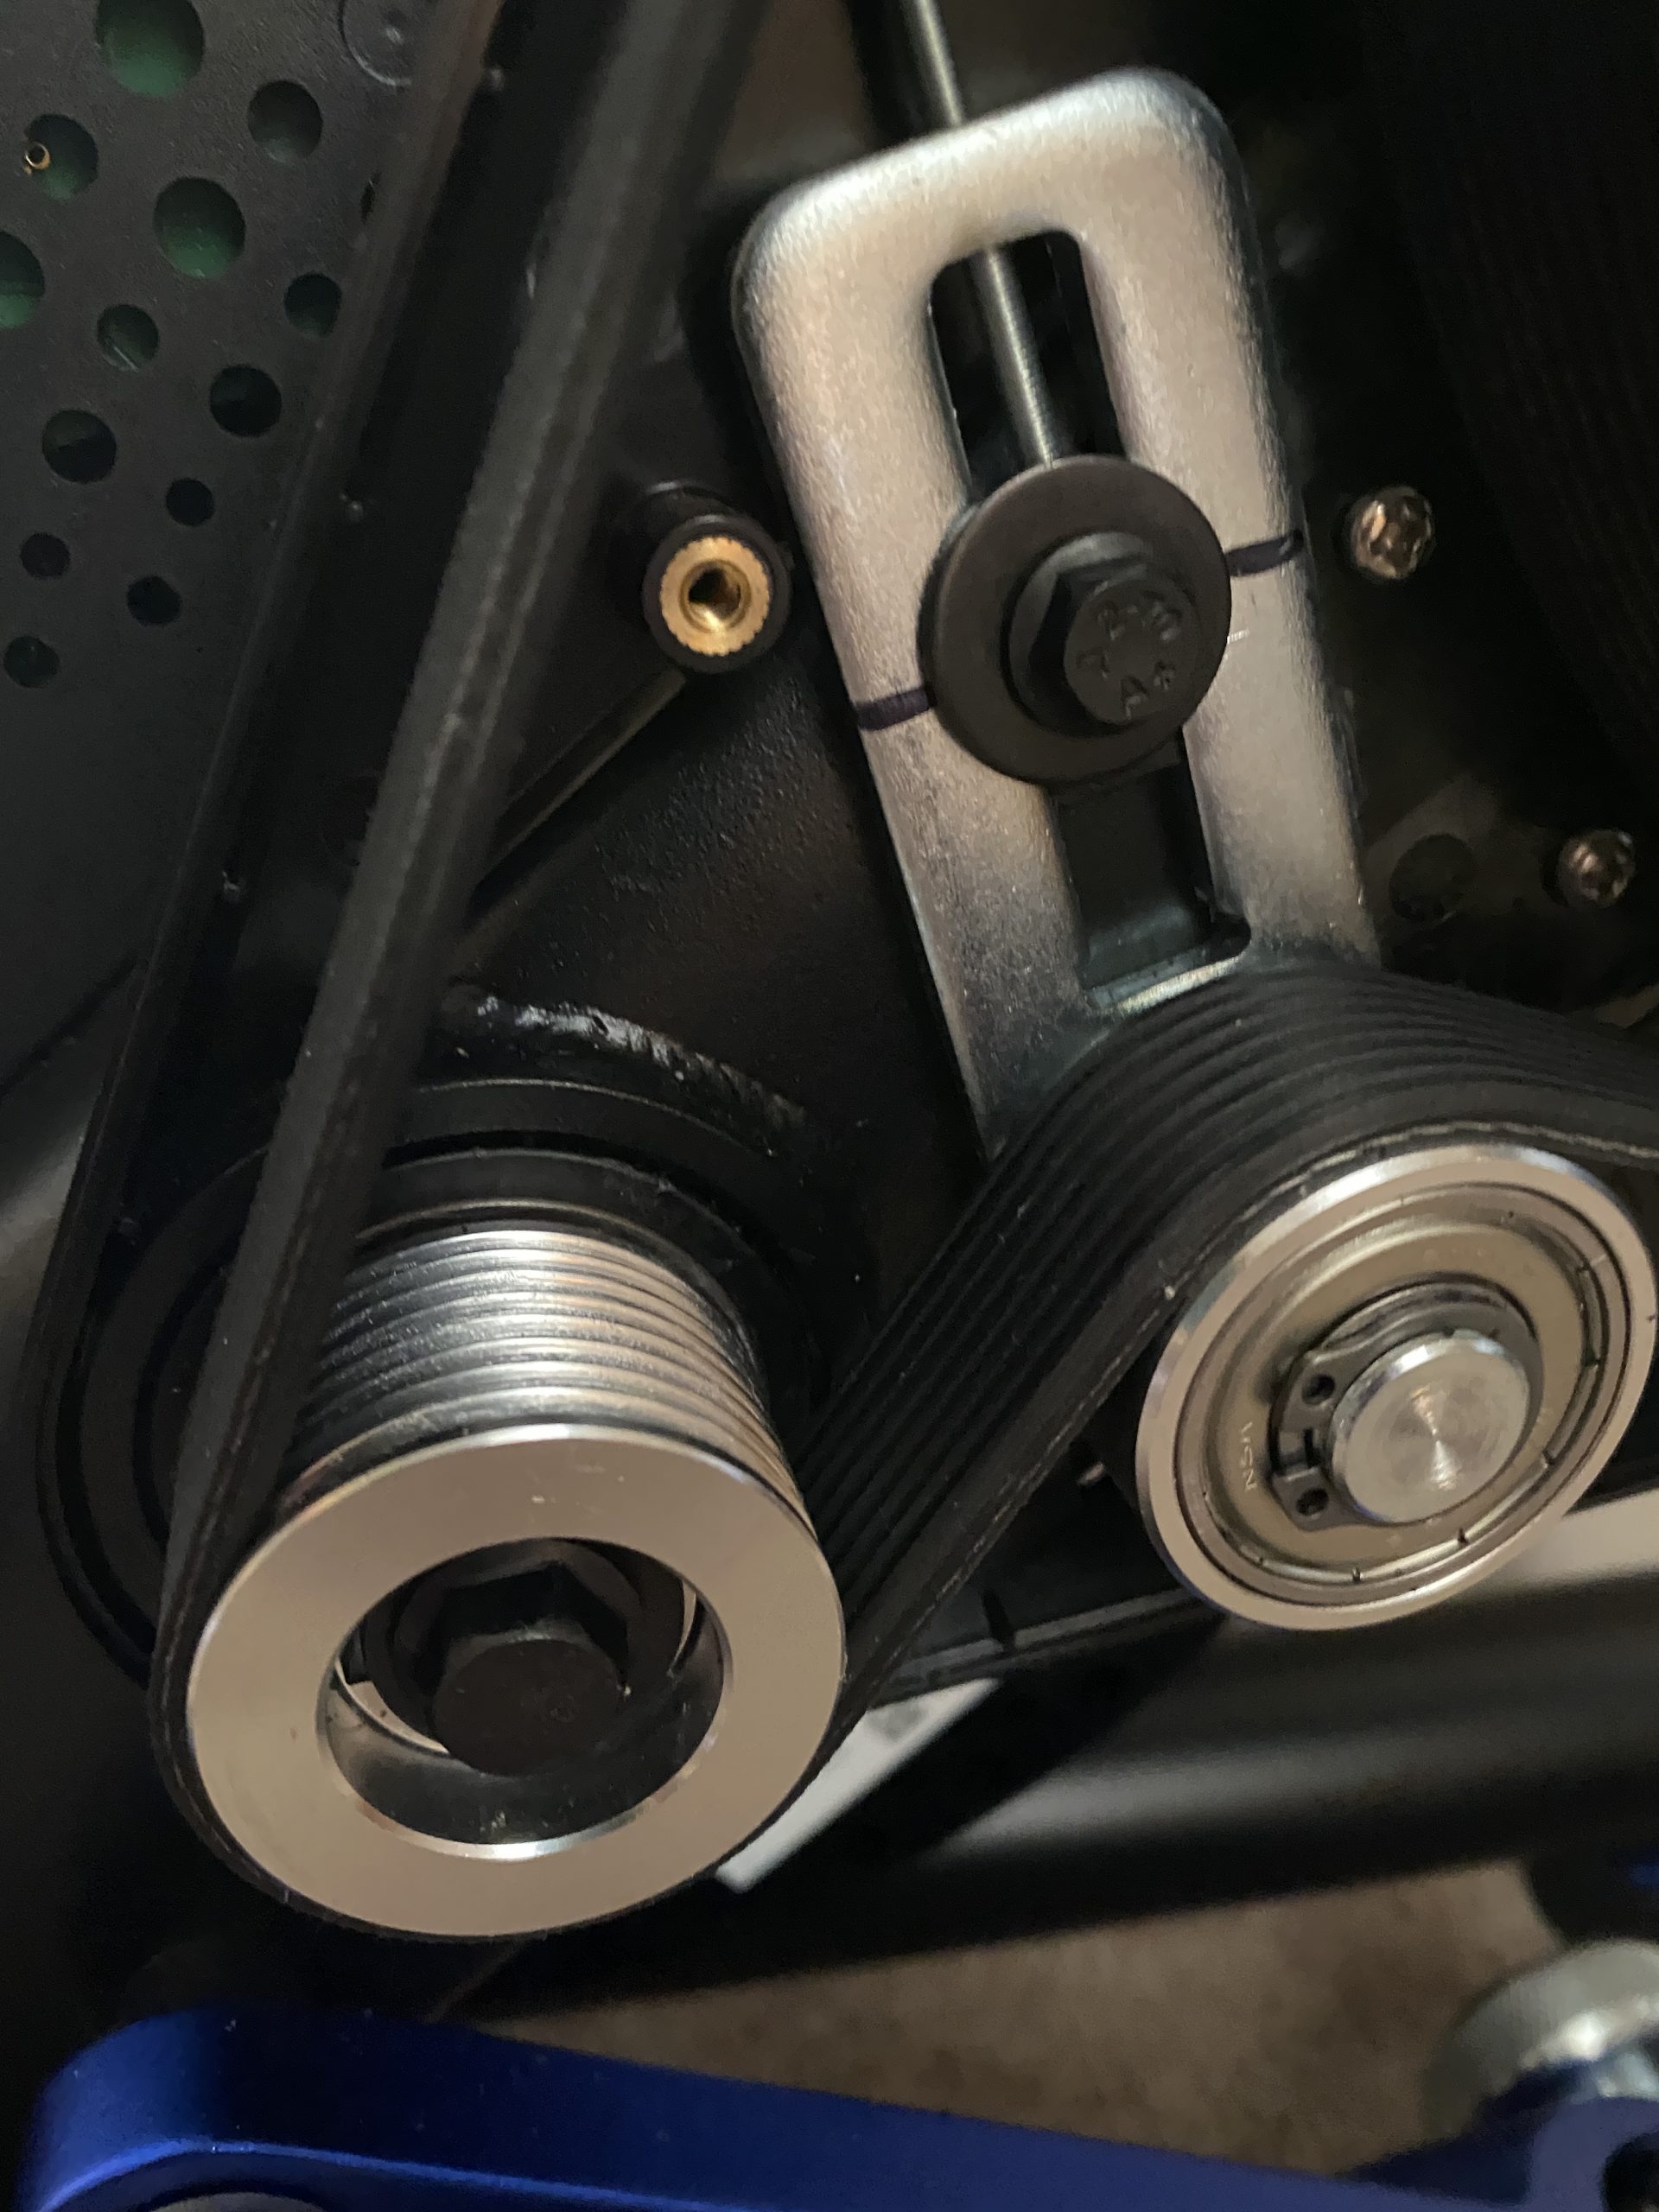
The belt was then fitted and the tension returned to its original position ensuring the tension was good. Both trainers I have had apart have the tension set at about halfway as seen in the image above.
I then tried spinning the flywheel by hand to ensure nothing was binding. Unfortunately the rubbing/squealing was still present. Changing the tension didn’t make a difference. A little research led to a fan belt video on youtube. As the video suggested you could diagnose a belt issue with water. I filled a water bottle with some tap water, protected the electronic elements of the trainer and poured the water onto the inside of the belt as I rotated the flywheel. Once wet the noise disappeared indicating it was a belt issue.
The water also flushed out a load of fine black grains of rubber that must have been from the belt. A bit of Aerospace 303, that I use for dry top latex seals, was sprayed on the inner side of the belt and excess wiped off.
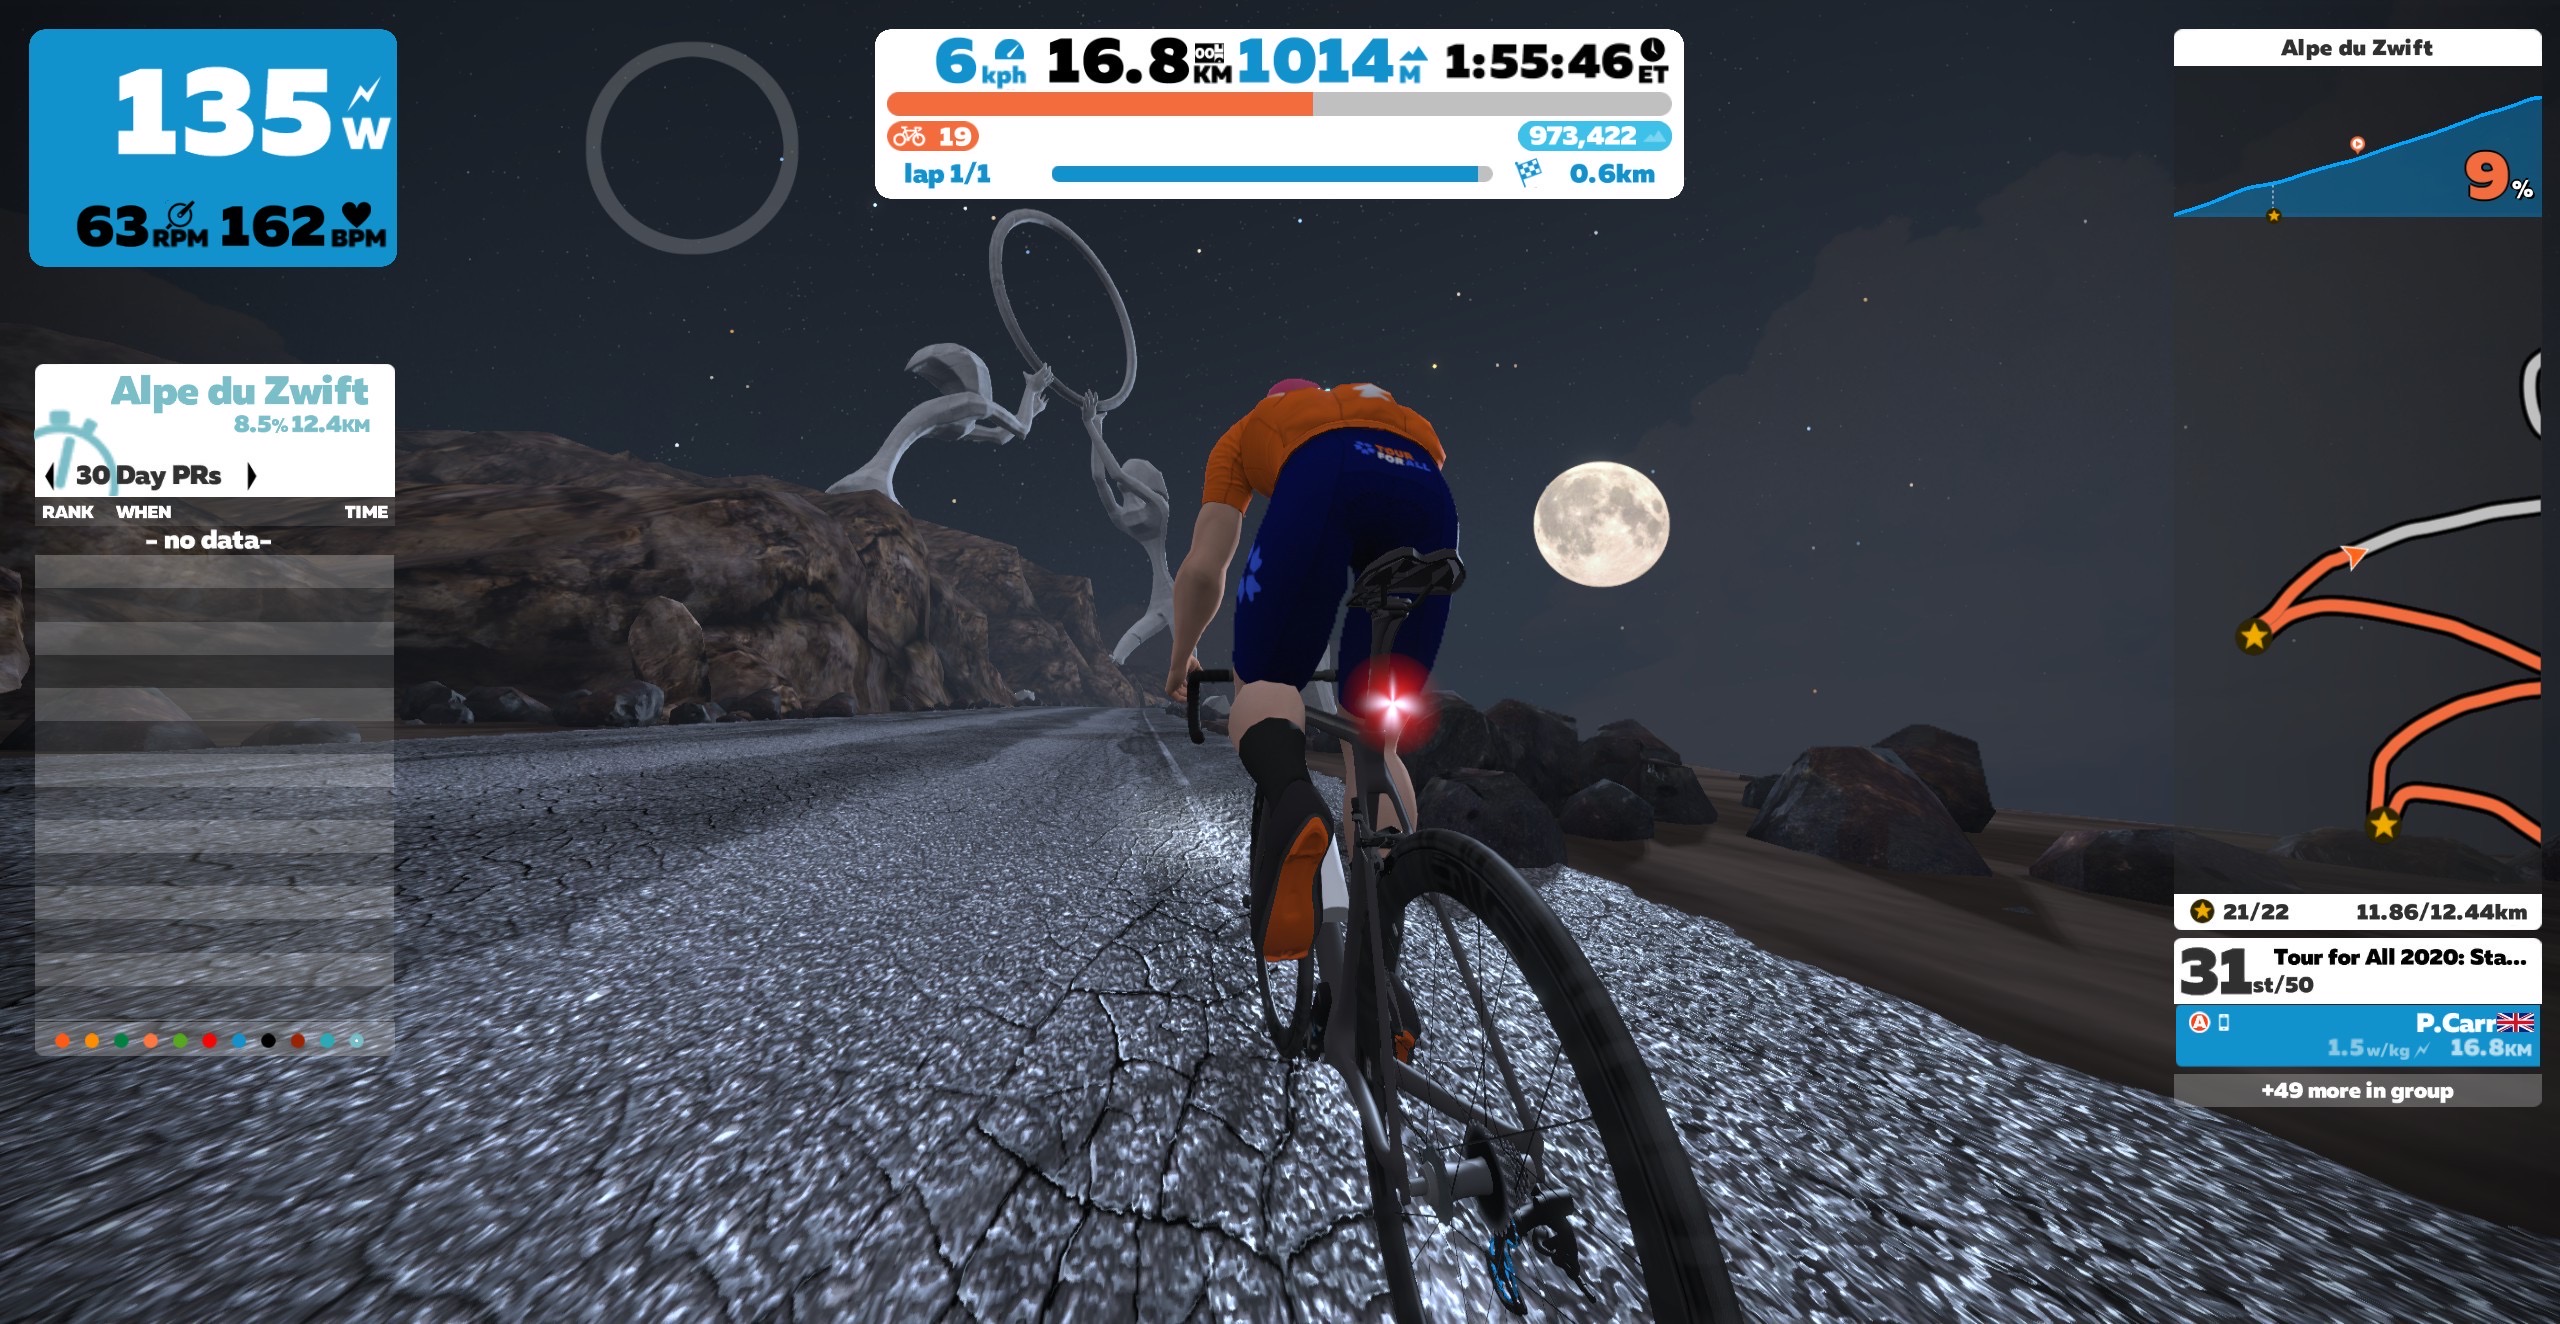
Did it work. Yes, no banging clunking, squealing. The only noise is from my bikes drive train. I have completed numerous rides on Zwift without issue including a jaunt up Alpe du Zwift today.
No issues at all.
For the parts required I spent under £30.
I have since repaired another Kickr 18 with the parts I have sourced.
UPDATE:
30th November 2020. Six months on and the Kickr is working as it should. It remains quiet and bearings seem to be OK. I have had the cover off a few times over the last few months to check on the Woodruff key and it hasn’t budged at all.
3rd January 2021. The trainer has been used more and more over the last month as outdoor cycling due to Covid and the weather. I completed the Rapha Festive 500 cycling over 500km on the Kickr during between Christmas Eve and New Year’s Eve. The trainer remains quite.
13th February 2022. After a few thousand KMs the Kickr started to produce a click when warmed up. I know that once there is an issue it is best to investigate straight away. A dry bearing on the drive side was at fault. As the trainer was apart I replaced both bearings.
Leave a Reply